Total War: WARHAMMER Factions: Army and Campaign Guide
Explore Total War: WARHAMMER factions, compare their armies and campaign styles, and learn how to use diplomacy, armor, cavalry, and magic to win battles.
Jump to
Which Factions Can You Play?
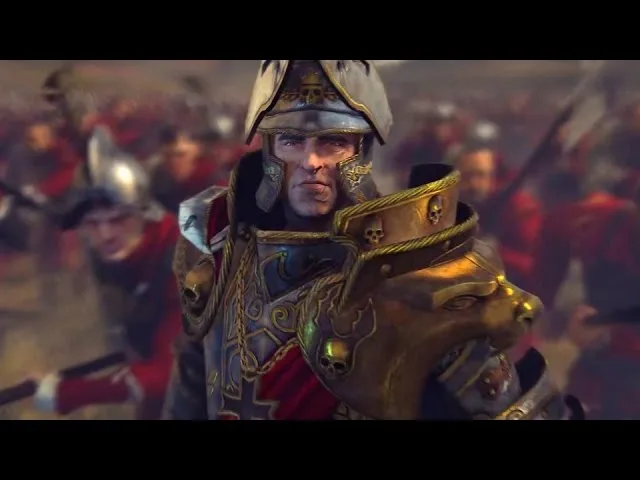
Choosing between Total War: WARHAMMER factions changes both how you fight and how you build an empire. The original game's core races are the Empire, Dwarfs, Greenskins, and Vampire Counts, with Bretonnia added through free content. Their armies, economies, and diplomatic situations demand different decisions from the opening turns.
A race defines the broader roster and campaign identity; factions are the individual powers belonging to that race. Your Legendary Lord adds another layer, shaping your early campaign and bringing character skills, equipment, and quest chains.
The five races below cover that core lineup and Bretonnia's free expansion.
These strategies focus on the first game's Old World campaign.
Official page: Total War: WARHAMMER (store.steampowered.com)
The Empire: Combined Arms and Careful Diplomacy
The Empire brings affordable State Troops, elite cavalry, artillery, and spellcasters into one flexible roster. Its strength comes from getting those pieces to work together: infantry holds the enemy in place while guns, artillery, and cavalry deliver damage.
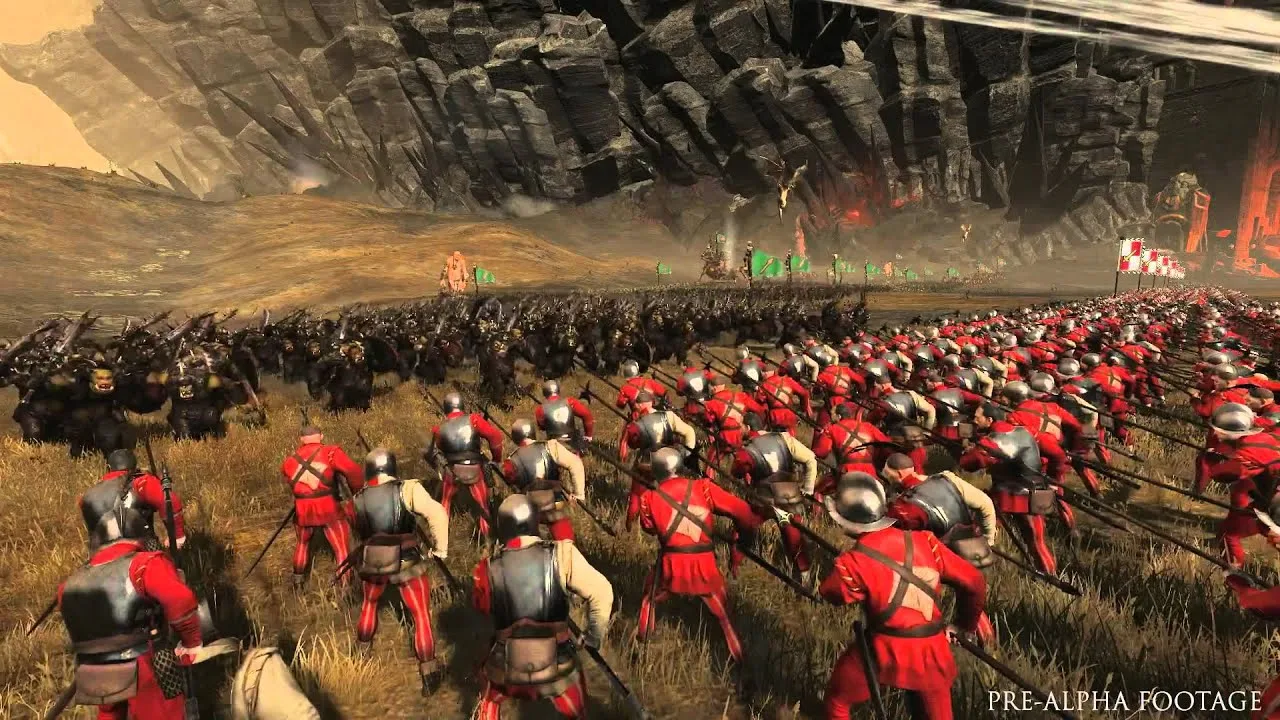
That flexibility makes army selection especially important. Against heavily armored Dwarfs, bring armor-piercing options such as Handgunners and Greatswords. Against large monsters, consider the anti-large variant of Demigryph Knights.
Secure Your Borders Before Expanding
Reikland sits among human factions, Dwarfs, and Greenskin tribes. That creates opportunities for trade and alliances, but the Empire's limited natural borders leave it exposed when too many wars overlap.
- Establish trade agreements early; their income grows as the agreements remain active.
- Choose an expansion direction before opening another front.
- Keep infantry between enemy attackers and your ranged units.
- Use cavalry to threaten exposed missile troops and vulnerable flanks.
Avoid buying an expensive unit simply because it sits higher in the roster. Spend on the tools your current enemy makes valuable.
Dwarfs: Resilient Infantry and Ranged Firepower
Dwarf armies combine durable infantry with powerful missile units and artillery. Their battlefield identity favors holding a position and making the enemy pay for the approach.
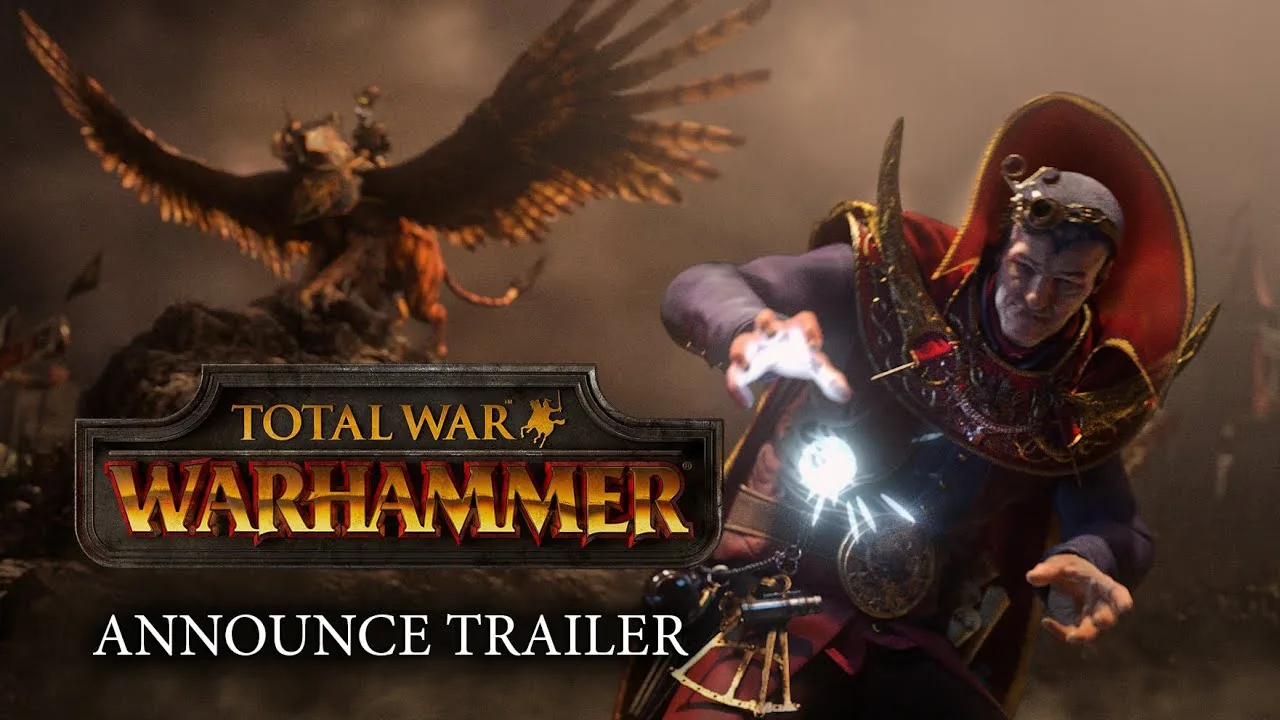
They lack conventional cavalry, so chasing fast opponents is a different problem than it is for the Empire or Bretonnia. Gyrocopters provide an airborne option, but enemy missile troops can punish them.
Dwarfs also work differently around magic. They do not cast spells through the Winds of Magic. Instead, runes strengthen their warriors and weapons, while innate magical resistance helps them withstand supernatural threats.
Build Up, Then Push Out
Around Karaz-a-Karak, nearby Dwarf factions offer diplomatic opportunities while hostile Greenskins threaten the surrounding territory. Alliances and confederation can help secure the mountains and Badlands.
Consolidate newly captured territory before advancing again. Strengthen your economy, use settlement defenses to wear down attackers, and counterattack after enemy armies have taken losses.
In battle, protect your firing positions rather than scattering the army in pursuit. Force opponents to fight through your infantry while your ranged units keep working.
Greenskins: Aggression That Funds the Next Fight
Greenskins favor an aggressive campaign. Their early troops are inexpensive and numerous, while raiding and sacking help compensate for weaker income from controlled territory.
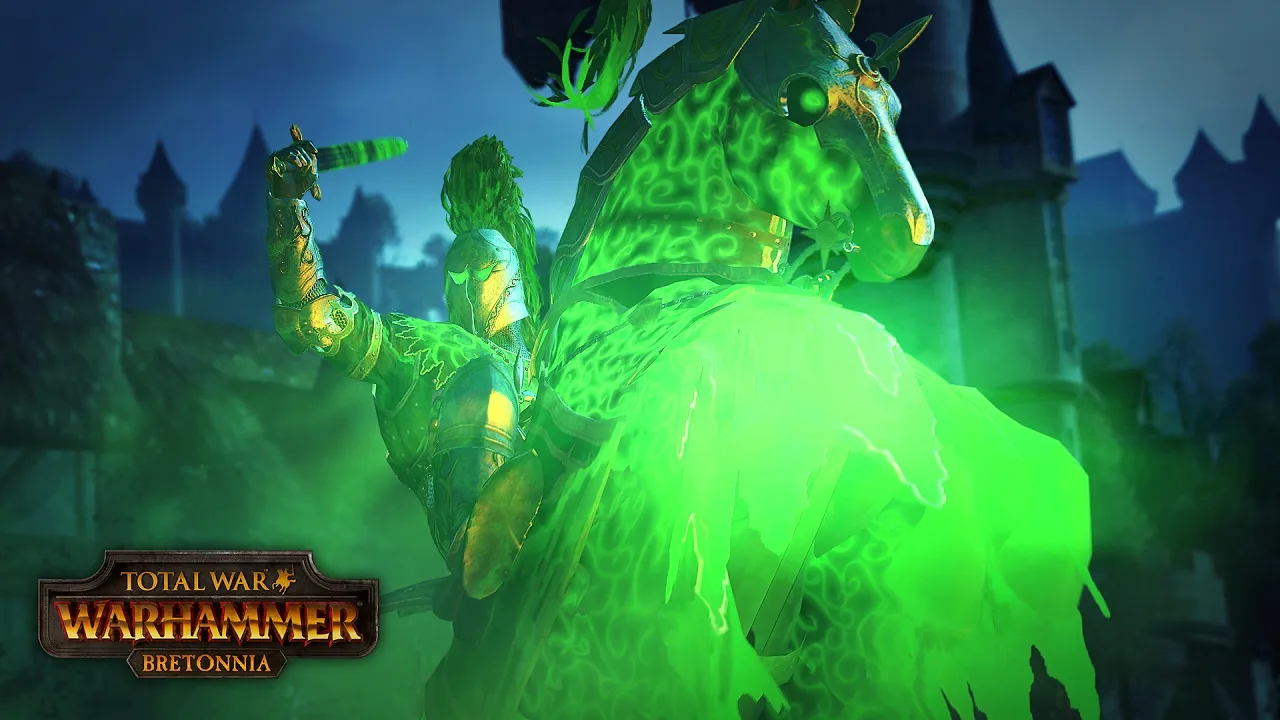
Black Crag's goldmine supports the opening economy, and nearby Greenskin tribes provide early targets. Keeping armies fighting also supports the original game's Waaagh! mechanic, which can reward sustained aggression with an additional army.
Match Your Spending to the Enemy
A more expensive unit does not automatically solve the battle in front of you. Orc Boyz can handle lightly armored infantry without requiring the investment of Black Orcs. Orc Big 'Uns bring a bonus against large targets, making that attribute relevant when facing cavalry-heavy opponents.
- Raid and sack to support your war effort.
- Keep armies active while preserving enough strength to continue fighting.
- Check anti-large bonuses before engaging cavalry or monsters.
- Use the Underway to cross difficult terrain, but account for interception.
The Underway offers movement beneath surface obstacles. An intercepted army must fight underground, so examine nearby threats before using it to reach your next target.
Vampire Counts: Monsters, Flying Units, and Spellcasters
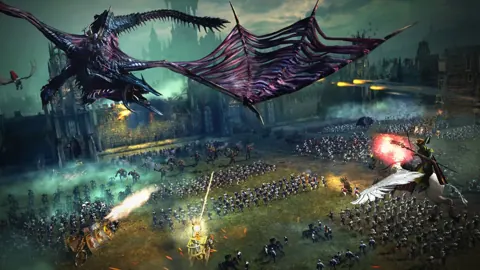
Vampire Counts armies lack conventional ranged troops. Their tools instead include undead infantry, monsters, flying creatures, and powerful spellcasters.
That changes how you deal with enemy firepower. You need to reach or disrupt missile units rather than depend on an exchange of arrows and bullets.
Use flying units to pressure exposed flanks and ranged troops. Pull them away from dangerous ground engagements before anti-large units surround them. Flight gives you access to targets; it does not make a unit safe once it lands.
Choose Your Wars and Your Damage Dealers
The Vampire Counts begin near Empire factions and Dwarfs. Declaring war on one neighbor can involve its allies, so inspect diplomatic relationships before committing your army.
Against armored Dwarf infantry, prioritize armor-piercing damage. Crypt Horrors provide a grounded monster option for that job. Support them with other troops rather than leaving them isolated under concentrated attacks.
Magic also requires attention to the battlefield's available Winds. Check the pool before spending it, and choose spells around the immediate engagement.
Bretonnia: Cavalry Charges Need Room to Work
Bretonnia's identity centers on its knights. Its roster places much of its striking power in cavalry, supported by infantry that helps occupy the enemy.
That makes positioning central to its battles. Charging straight into prepared anti-large troops wastes the advantage you are trying to create.
Use your supporting troops to engage the enemy, then maneuver cavalry toward exposed sides, rear formations, or missile units. Withdraw and reposition when a target turns dangerous rather than leaving your knights trapped in a prolonged fight.
Watch the opposing roster before committing. Spears, halberds, and less obvious anti-large units can all threaten large cavalry. Read the unit's attributes instead of judging the matchup by its appearance.
Build Armies Around Matchups
Faction identity tells you what tools are available. Enemy composition tells you which ones deserve a place in your army.
Start with these checks:
- Armor-piercing damage: Prioritize it against heavily armored targets, including much of the Dwarf roster.
- Bonus versus large: Use it against cavalry and monsters. Some units carry this bonus without wielding an obvious spear.
- Charge defense: Brace suitable infantry and face the incoming threat to benefit from its defensive attribute.
- Mobility: Use fast units to disrupt vulnerable ranged troops while keeping them away from hostile anti-large units.
- Cost: Compare the battlefield role you need with the price of filling it.
These attributes influence matchups without making them automatic victories. Leadership, remaining health, support, and positioning still matter.
For example, anti-large Demigryph Knights can threaten Vampire Counts monsters, but nearby Skeleton Spearmen create a reason to disengage. Move away from the counter and seek another valuable target.
Treat flying monsters with the same discipline. Use their mobility to select engagements, then extract them before missile fire or a surrounding melee wears them down.
Choose Your Legendary Lord and Difficulty
Your starting Legendary Lord affects the early campaign and develops through skills, equipment, mounts, and battlefield abilities. The Empire, for example, offers Karl Franz and Balthasar Gelt as distinct leadership choices.
Legendary Lords also have narrative quest chains that can lead to battles and powerful items. Develop the character alongside the army rather than treating the lord as a separate project.
For an unfamiliar race, select Normal to learn its systems. Enable the introduction where available and choose the character labeled Faction Leader to follow the introductory route.
Difficulty changes more than numerical bonuses:
- Easy: Opponents are more forgiving of diplomatic offenses and less eager to declare war.
- Normal: Provides room to learn an unfamiliar race while retaining a developing campaign challenge.
- Very Hard: Demands closer management of diplomacy, the economy, character skills, and battles.
- Legendary: Adds restrictions on saving and issuing orders while battles are paused.
Before your next expansion, open the Objectives panel and read your race's victory requirements. Plan your wars around the territory and provinces those conditions actually require.
Continue with
 Total War: WARHAMMER Greenskins: Campaign & Army GuideMaster Total War: WARHAMMER greenskins with tips on Fightiness, Waaagh! armies, Grimgor, unit choices, and building an economy that keeps conquest moving.
More in Factions
Total War: WARHAMMER Bretonnia Guide: Lords and Units
Master Total War: WARHAMMER Bretonnia with a guide to Legendary Lords, knightly vows, Chivalry, army units, and the original campaign's item quest chains.
Total War: WARHAMMER Dwarfs: Army and Campaign Guide
Master Total War: WARHAMMER dwarfs with army roles, firing lanes, flank defense, and campaign tips to hold your ground and reclaim the ancestral holds.
Total War: WARHAMMER Empire Guide: Armies & Campaign
Master the Total War: WARHAMMER Empire with tips on army roles, artillery, cavalry, diplomacy, and campaign defense. Build a force ready to hold the line.
Total War: WARHAMMER Vampire Counts Strategy Guide
Master Total War: WARHAMMER vampire counts with army tips, early campaign tactics, healing support, and Regiments of Renown choices for tougher battles.
Continue exploring
Join the community
Official channels for news, updates and player help: