Total War: WARHAMMER Quest Battles: Unlocks and Tips
Master Total War: WARHAMMER quest battles with Legendary Lord unlock ranks, item quest steps, and combat tips for Vlad, Kemmler, and campaign leaders.
Jump to
How to Unlock Quest Battles
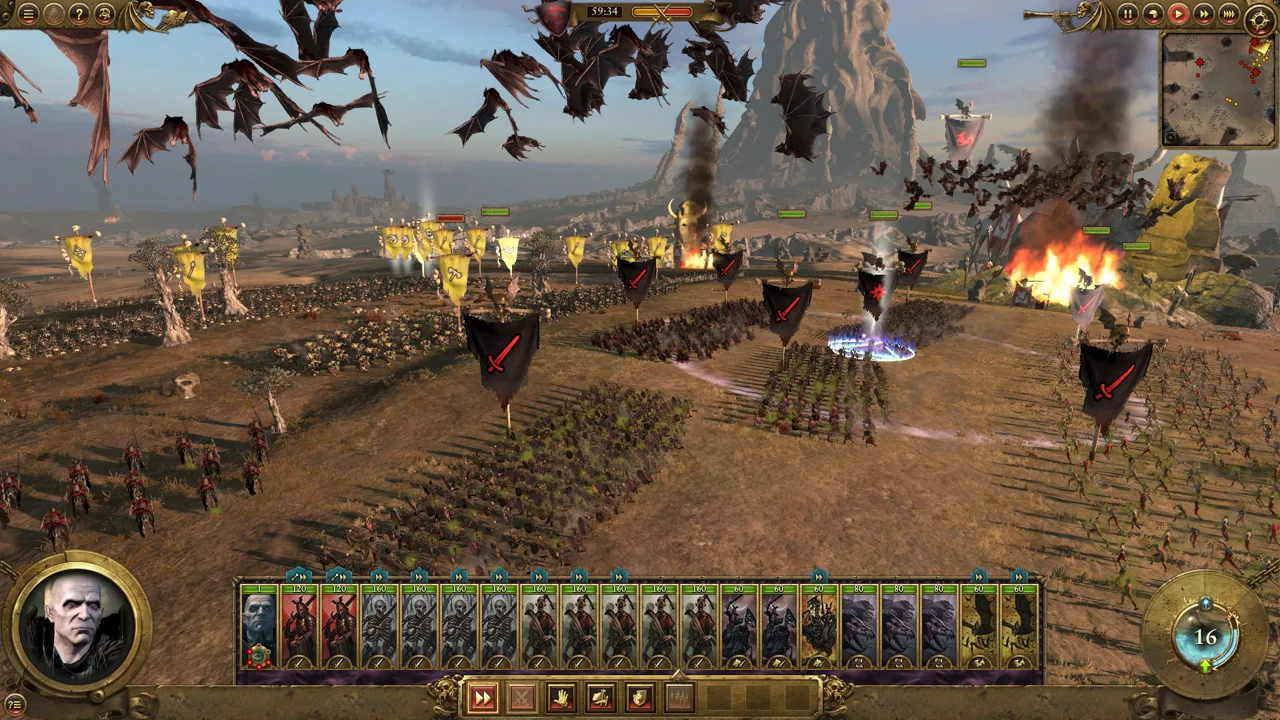
Total War: WARHAMMER quest battles put your Legendary Lord’s signature equipment behind campaign objectives and scripted fights. Reaching the required rank starts the quest chain; recruitment, travel, diplomacy, or combat objectives can still stand between you and the battlefield. Plan those requirements ahead to spend fewer turns moving Heroes across the Old World.
The chains below apply to the original game’s Grand Campaign. Their starting ranks belong to individual item quests, so reaching rank 8 does not immediately unlock every Lord’s battle.
Read each active objective carefully:
- Region and province mean different things. A province-wide objective allows more flexibility; a region objective requires the named area.
- Moving and deploying are separate actions. Arriving at the destination does not fulfill an instruction to deploy a Hero.
- Character requirements matter. “Any character” allows options that “Witch Hunter” or “Runesmith” does not.
- Army-specific victories require the named Lord. Wins elsewhere do not fulfill an objective assigned to that Lord’s army.
- Turn timing matters. A treasury requirement checked at the start of your turn differs from an income requirement checked at the end.
Some settlement objectives select different targets between campaigns. Follow the settlement named in your active quest rather than traveling to a location from a previous playthrough.
Official page: Total War: WARHAMMER (store.steampowered.com)
Empire Quest Chains: Karl Franz, Gelt, and Volkmar
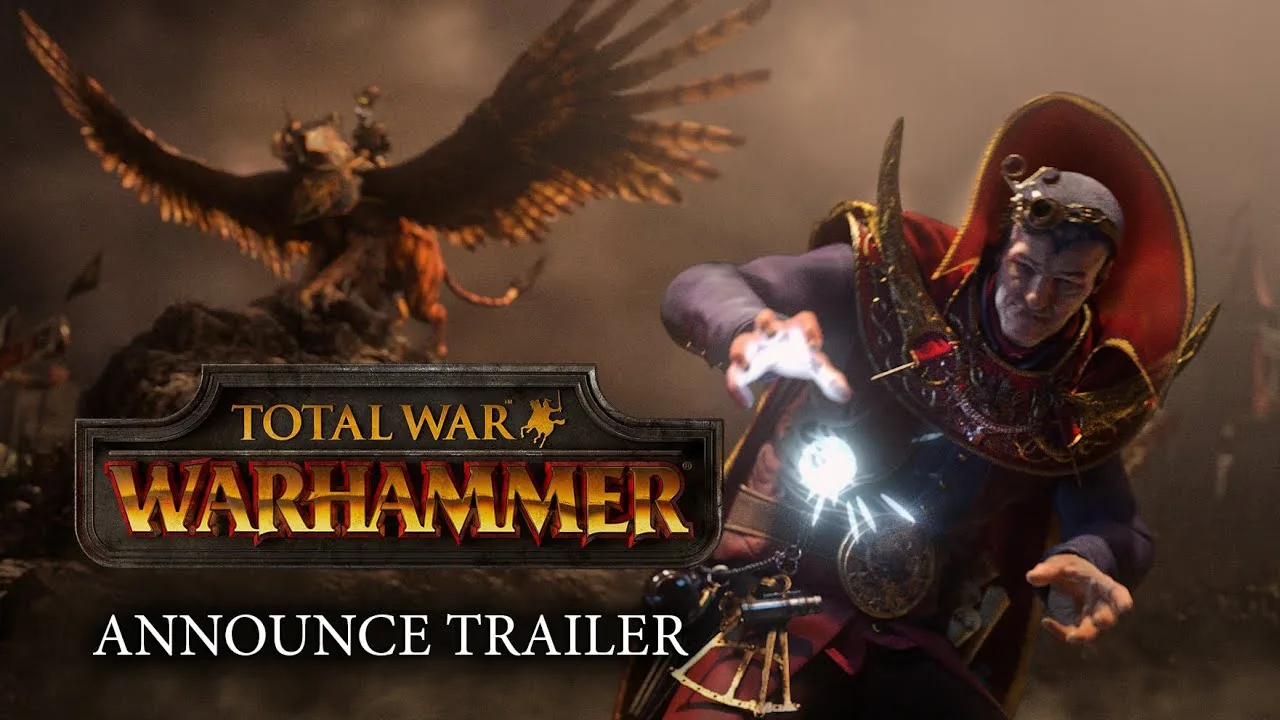
The Empire’s item quests begin at ranks 8, 13, and 18, depending on the Lord and item. Their requirements reach beyond battlefield victories: alliances, specialist buildings, technology, and Hero deployment all appear.
| Legendary Lord | Rank 8 quest | Rank 13 quest | Rank 18 quest |
|---|---|---|---|
| Karl Franz | The Reikland Runefang | Ghal Maraz | The Silver Seal |
| Balthasar Gelt | Cloak of Molten Metal | Amulet of Sea Gold | Staff of Volans |
| Volkmar the Grim | Jade Griffon | Staff of Command | — |
Karl Franz: The Reikland Runefang
Complete these objectives in order:
- Establish a Defensive or Military Alliance with Nordland.
- Put a Helstorm Rocket Battery or The Sunmaker in Karl’s army.
- Move any Lord or Hero to the Salzenmund region.
- Win The Reikland Runefang battle.
Preserve your relationship with Nordland while preparing the artillery requirement. The chain needs an alliance, so military expansion alone will not advance it.
Karl Franz: Ghal Maraz
The rank 13 chain requires:
- Deploy a Battle Wizard in the Ostermark province.
- Begin a turn with at least 10,000 in your treasury.
- Defeat five Greenskin Tribes armies or garrisons with Karl’s army.
- Win the Ghal Maraz battle.
Keep Karl involved in those Greenskin engagements. Sending another general to collect the victories does not satisfy his army-specific step.
The Silver Seal starts at rank 18 with a Witch Hunter deployment in Reikland. A subsequent choice between pursuing a target and breaching a dam leads to different versions of the Shrine of Ill Omen battle.
Gelt and Volkmar: Longer Preparation
Gelt’s Cloak of Molten Metal chain includes two battles, with travel objectives between them. After Broken Leg Gully, return Balthasar to the Altdorf region, move any Lord or Hero to Weismund, and then tackle Ancient Dragon Cave.
For Amulet of Sea Gold, the northern route leads to Marbad’s Tomb without securing the item, requiring the southern route afterward. Choose the southern Estalia route to avoid that additional northern detour.
Volkmar’s Jade Griffon requires three Flagellants in his army; The Tattersouls count. His Staff of Command needs broader preparation, including three Heroes deployed across three Empire-owned provinces, a Temple of Sigmar, the Purge Dark Cults technology, and the War Altar of Sigmar mount equipped.
Dwarf Quest Chains: Treasury, Territory, and Specialist Units
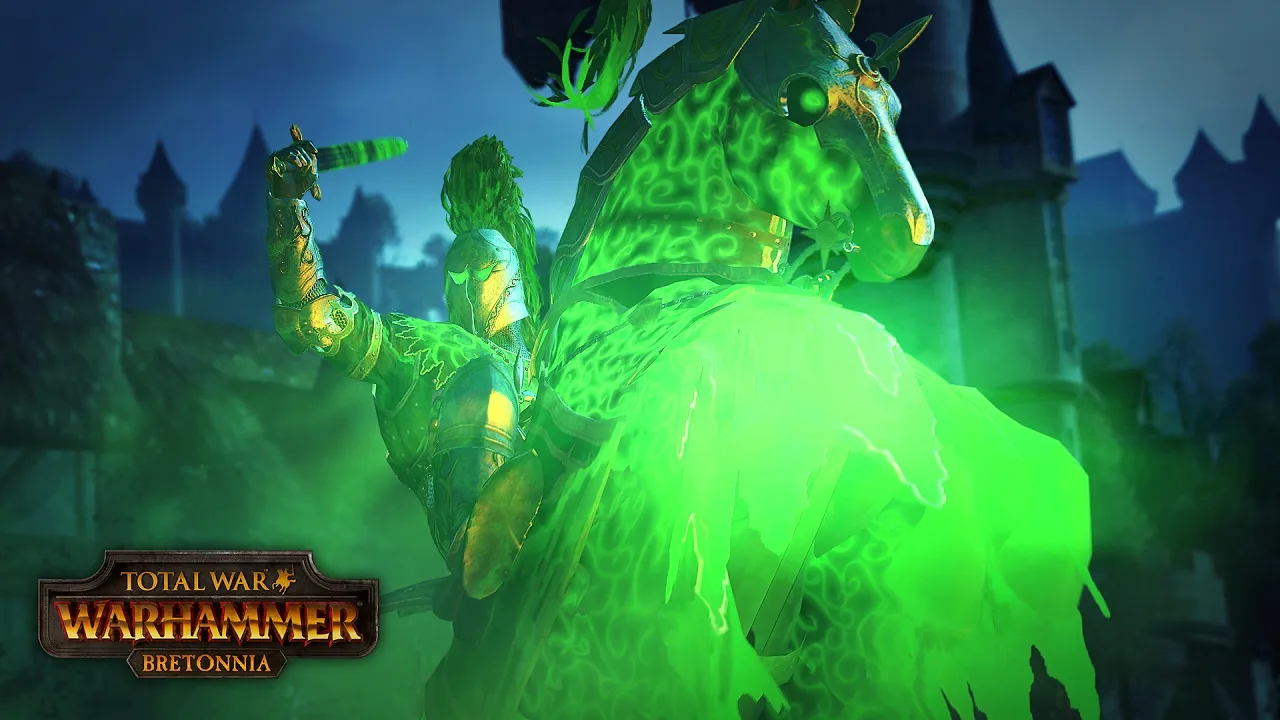
Dwarf item quests combine substantial campaign requirements with precise army compositions. Thorgrim and Grombrindal each have a fourth chain beginning at rank 23.
| Legendary Lord | Item quests and starting ranks |
|---|---|
| Thorgrim Grudgebearer | The Axe of Grimnir: 8; The Armour of Skaldour: 13; The Dragon Crown of Karaz: 18; The Great Book of Grudges: 23 |
| Ungrim Ironfist | The Slayer Crown: 8; Dragon Cloak of Fyrskar: 13; Axe of Dargo: 18 |
| Grombrindal | Armour of Glimril Scales: 8; Rune Axe of Grombrindal: 13; Cloak of Valaya: 18; Rune Helm of Zhufbar: 23 |
| Belegar Ironhammer | Shield of Defiance: 8; Hammer of Angrund: 13 |
For Thorgrim’s The Axe of Grimnir:
- Begin a turn with at least 10,000 in your treasury.
- Have two qualifying flying units in Thorgrim’s army: Gyrocopters, Gyrocopters with Brimstone Guns, Gyrobombers, or the Skyhammer.
- Move any Lord or Hero to the Karak Azgal region.
- Win the item battle.
Later chains demand a developed empire. The Armour of Skaldour requires complete ownership of four provinces, while The Dragon Crown of Karaz requires five. The Great Book of Grudges asks for at least 2,000 trade income at the end of your turn.
Several other requirements deserve advance planning:
- Ungrim’s The Slayer Crown: Both the Weismund and Wurtbad routes appear in the chain, alongside battles at Leitziger Ford and Ancient Dragon Cave.
- Grombrindal’s Cloak of Valaya: The opening objective requires recruiting a Runesmith. Increase your recruitment capacity if you are already at the cap.
- Grombrindal’s Rune Helm of Zhufbar: Put three Slayer units in his army.
- Belegar’s Hammer of Angrund: Prepare two Bolt Throwers, alongside his Greenskin victory and settlement objectives.
Check qualifying variants before recruiting. Dragonback Slayers count toward Thorgrim’s two-Slayer requirement for The Armour of Skaldour.
Greenskin Quest Chains: Raiding and Exact Unit Requirements
Greenskin quests frequently ask you to sack or raze different settlements, defeat particular factions, and bring specific units into your Legendary Lord’s army.
 Image: Steam / CREATIVE ASSEMBLY
| Legendary Lord | Item quests and starting ranks |
|---|---|
| Grimgor Ironhide | Gitsnik: 8; Blood-Forged Armour: 13 |
| Azhag the Slaughterer | The Crown of Sorcery: 8; Azhag’s ‘Ard Armour: 13; Slagga’s Slashas: 18 |
| Skarsnik | Skarsnik’s Prodder: 8 |
| Wurrzag | Baleful Mask: 8; Squiggly Beast: 13; Bonewood Staff: 18 |
Grimgor’s Gitsnik chain requires an embedded Goblin Big Boss, a successful assassination against a Greenskin Tribes Lord or Hero, three different settlements sacked or razed, and movement to Akendorf before the battle. Savage Orc Hordes do not count toward that assassination requirement.
Blood-Forged Armour contains two battles. Broken Leg Gully comes before an additional five-settlement sacking or razing objective; High Pass follows movement to Karak Ungor.
Watch these composition checks:
- Azhag’s The Crown of Sorcery: Have four Missile Infantry units in his army.
- Azhag’s ‘Ard Armour: The Shaman choice determines the monster requirement: an Arachnarok Spider for the Night Goblin Shaman path or a Giant for the Orc Shaman path.
- Skarsnik’s Prodder: After the first battle, recruit three Troll units into Skarsnik’s army and deploy a Goblin Big Boss in the Eastern Badlands before the second battle.
- Wurrzag’s Squiggly Beast: Bring four regular Night Goblin units. Night Goblin Archers and Regiments of Renown do not count.
For Baleful Mask, prepare to trigger a Waaagh!, perform a successful Hero action against a Greenskin Tribe settlement, begin a turn with 5,000 in the treasury, and deploy a Shaman in the Southern Badlands.
Vampire Counts Quest Chains: Vlad, Kemmler, and More
Undead item quests mix recruitment, raiding, Hero actions, and battles against living factions. Several contain multiple encounters, so the first victory does not always finish the chain.
| Legendary Lord | Item quests and starting ranks |
|---|---|
| Mannfred von Carstein | Sword of Unholy Power: 8; Armour of Templehof: 13 |
| Heinrich Kemmler | Chaos Tomb Blade: 8; Cloak of Mists & Shadow: 13; Skull Staff: 18 |
| Helman Ghorst | Liber Noctus: 8 |
| Vlad von Carstein | Blood Drinker: 8; The Carstein Ring: 13 |
| Isabella von Carstein | Blood Chalice of Bathori: 9 |
Vlad: Blood Drinker
Vlad’s opening item chain proceeds through these objectives:
- Occupy a region in Ostermark, such as Essen or Bechafen, as specified by the quest.
- Successfully assassinate a Lord belonging to an Empire faction.
- Raid the Talabheim region.
- Win the Blood Drinker battle.
For The Carstein Ring, recruit a Vampire, complete the selected branch, bring three Vargheists into Vlad’s army, and deploy a Vampire at the specified destination in the Desolation of Nagash before the battle. The branch asks either for three different Empire settlements sacked or razed, or a turn-start reserve of at least 10,000 Dark Magic.
Kemmler: Chaos Tomb Blade
Kemmler’s rank 8 chain requires:
- Embed a Wight King in his army.
- Add two Grave Guard units; The Sternsmen count.
- Raid the Karak Bhufdar region.
- Move any Lord or Hero to the Miragliano region.
- Win the Chaos Tomb Blade battle.
Prepare the Wight King and Grave Guard before setting out on the travel objectives.
Other Undead Chains to Plan Around
Mannfred’s Sword of Unholy Power requires an embedded Necromancer, more than 10,000 Dark Favor at the beginning of a turn, and a Banshee deployment in Blightwater. His Armour of Templehof includes battles at Barrier Idols and Burial Mound, separated by another Necromancer deployment.
Ghorst’s Liber Noctus needs three Dire Wolves in his army; The Direpack count. The chain also requires sacking or razing three different Empire settlements, recruiting a Vampire Hero, assassinating an Empire Lord, and reaching Miragliano.
Isabella’s Blood Chalice of Bathori starts at rank 9 and includes battles at The Dead Wood and Marbad’s Tomb. After the first encounter, recruit a Necromancer, sack or raze two settlements, and move a character to Castle Templehof to reach the second.
Warriors of Chaos and Beastmen Item Quests
Horde-based Lords still need campaign preparation. Buildings, research, embedded Heroes, and recruitment objectives remain part of their item chains.
Warriors of Chaos
- Archaon: The Slayer of Kings begins at rank 8, The Armour of Morkar at 13, The Eye of Sheerian at 18, and The Crown of Domination at 23.
- Kholek: Starcrusher begins at rank 8.
- Sigvald: Sliverslash begins at rank 8 and Auric Armour at 13.
For The Slayer of Kings, construct a Chaos Warshrine in any of your Hordes, research Unholy Communion, and move a Lord or Hero to Baersonling’s Camp before the battle. The building does not have to belong to Archaon’s Horde.
The Armour of Morkar requires one Chaos Knights (Lancer) unit in Archaon’s army, 15,000 Favor at the start of a turn, and a Hero deployed at Baersonling’s Camp.
Kholek’s Starcrusher requires a Chaos Sorcerer embedded in his Horde, followed by a Chaos Sorcerer deployment in the Goromadny Mountains. Sigvald’s Auric Armour requires two Chosen (Great Weapons), an embedded Chaos Sorcerer, and a Sorcerer deployment in the same province.
Beastmen
- Khazrak: Scourge begins at rank 8 and The Dark Mail at 13.
- Malagor: Icons of Vilification begins at rank 8.
- Morghur: Stave of Ruinous Corruption begins at rank 8.
Khazrak’s Scourge requires three Chaos Warhounds (Poison), alongside raiding, settlement destruction, and Gorebull deployment objectives.
Malagor’s chain contains two battles. Between The Shadow Forest and Stir River, add three Minotaurs (Great Weapons) to his Horde, sack or raze five different Empire settlements, and deploy a Gorebull in Talabecland.
Morghur’s chain involves Greenskins, Dwarfs, and Wood Elves: sack or raze a Greenskin Tribe settlement, raid Dwarf territory with his Horde, perform a successful Hero action against a Wood Elf settlement, and move a Horde or Hero to Gisoreux.
Wood Elf, Bretonnian, and Norscan Quest Requirements
These Lords include several exceptions to the common rank 8 starting point. Alberic’s item quest begins at rank 3; Louen, Wulfrik, and Throgg begin theirs at rank 9.
Wood Elves
Orion unlocks Horn of the Wild at rank 8, Cloak of Isha at 13, and Spear of Kurnous at 18.
Horn of the Wild requires four complete provinces, Skycrown Oak Walls, and a Spellsinger deployment in Torgovann. Cloak of Isha needs three Sisters of the Thorn, while Spear of Kurnous requires three regular Wild Riders. Wild Riders (Shields) do not count toward that last requirement.
Durthu’s Sword of Daith begins at rank 8:
- Defeat five armies or garrisons with Durthu’s army.
- Have three Tree Kin units in his army.
- Move any Lord or Hero to Vaul’s Anvil.
- Win the first Sword of Daith battle.
- Deploy a Spellsinger in Argwylon.
- Win the second battle.
Bretonnia
Louen’s Sword of Couronne, starting at rank 9, requires three Knights of the Realm in his army, movement to Gisoreux, and a Paladin deployment in the Forest of Arden.
Alberic’s Trident of Manaan, starting at rank 3, requires:
- Deploy a Paladin in Lyonesse.
- Occupy Mousillon.
- Deploy a Paladin in Bordeleaux.
- Begin a turn with at least 10,000 in the treasury.
- Deploy a Paladin in Estalia.
- Win the item battle.
The Fay Enchantress’s The Chalice of Potions starts at rank 8. Construct the Tower of the Enchantress in Carcassonne, deploy a Damsel at the specified Nordland destination and in the Vanaheim Mountains, then move a Lord or Hero to Couronne before the battle.
Norsca
Wulfrik’s Sword of Torgald begins at rank 9. Bring four Marauder Berserkers into his army; Brutes of the Hound count. The remaining preparation involves movement to Couronne, raiding Couronne, and movement to Lyonesse.
Throgg’s The Wintertooth Crown also begins at rank 9. Construct a Plunder Hall, recruit three Norscan Ice Trolls into his army, sack or raze three different Empire settlements, and raid Karak Kadrin before the battle.
Battle Tactics for Blood Drinker and Chaos Tomb Blade
Blood Drinker: Silence Artillery Without Splitting Your Army
The Empire force brings artillery, missile troops, and armored Knights. A cavalry ambush can tie down Vlad and his elite infantry while the slower undead frontline fights without them.
Use Fell Bats to disrupt artillery crews and Dire Wolves to pressure exposed missile units. Keep the main infantry close enough to support those attacks, and retain troops near your rear to meet the Knights.
Avoid leaving Black Knights in prolonged combat with Spearmen or Halberdiers. Use rear charges against infantry already engaged by your frontline, then withdraw before the cavalry becomes trapped.
Keep Vlad and your durable infantry moving toward the main engagement. Zombies can occupy enemies, but they lack the killing power to finish the fight alone. Watch disrupted artillery crews throughout the battle: crews that return to their guns can resume firing into your clustered troops.
Chaos Tomb Blade: Hold Together Against Multiple Approaches
Kemmler faces Chaos forces entering from several directions, with a Giant joining the fighting. Keep a reserve available after defeating the opening Marauders.
Use these priorities:
- Pin infantry before charging their rear. Skeletons or Zombies can hold enemies while Hexwraiths and Crypt Horrors attack from another angle.
- Keep Dire Wolves clear of hostile cavalry. Withdraw them from Marauder Horsemen rather than leaving them trapped.
- Use Invocation of Nehek to restore damaged undead units. Keep Kemmler positioned to support the troops carrying the fight.
- Cast Raise Dead to obstruct dangerous enemies. Extra Zombies can occupy the Giant while your stronger units clear nearby threats.
- Reposition after each engagement. Bring mobile units back toward the next approaching force instead of chasing every fleeing enemy.
Tie down the Giant with expendable troops while concentrating your damage elsewhere, then bring surviving units together to surround it.
Continue exploring
Total War: WARHAMMER Bretonnia Guide: Lords and Units
Master Total War: WARHAMMER Bretonnia with a guide to Legendary Lords, knightly vows, Chivalry, army units, and the original campaign's item quest chains.
Total War: WARHAMMER Which Is Best? A Faction Guide
Compare factions, army matchups, and campaign styles to choose your next Old World army. Build your campaign around the strengths you want to use.
Join the community
Official channels for news, updates and player help: