Total War: WARHAMMER Dwarfs: Army and Campaign Guide
Master Total War: WARHAMMER dwarfs with army roles, firing lanes, flank defense, and campaign tips to hold your ground and reclaim the ancestral holds.
Jump to
How Do the Dwarfs Play?
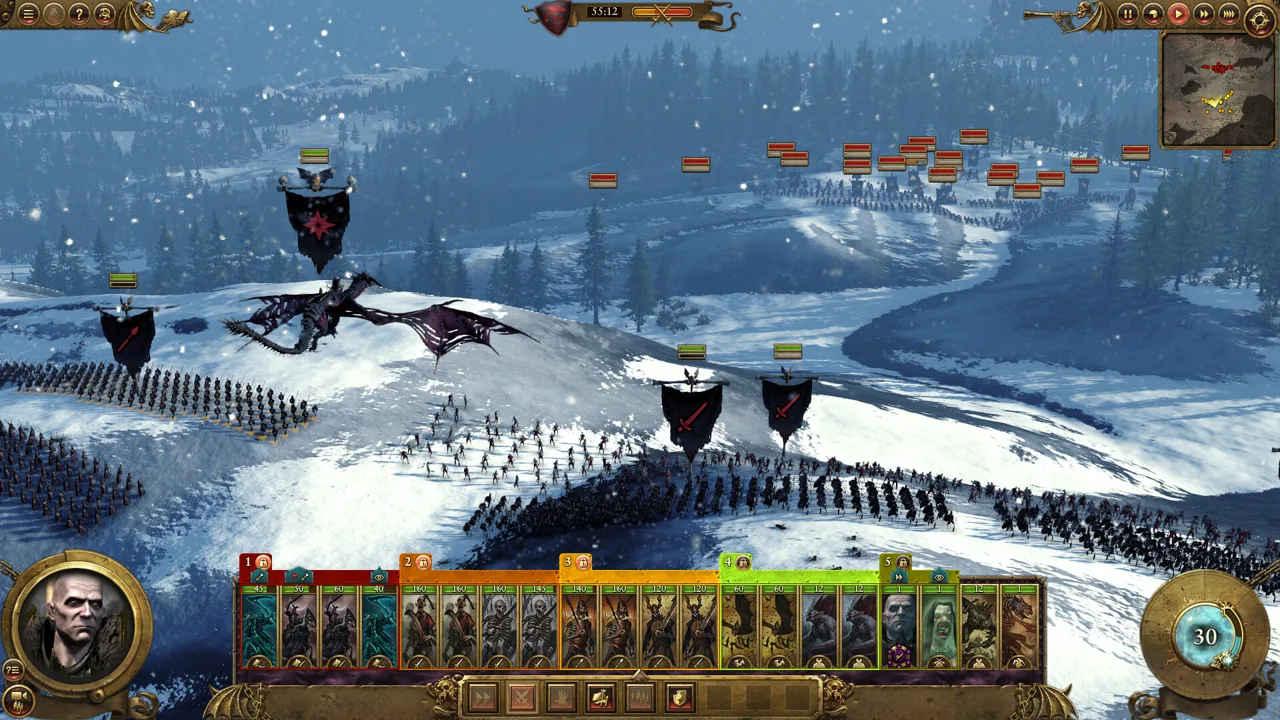
Make the enemy cross the battlefield under fire, then meet them with a line they struggle to break. Total War: WARHAMMER dwarfs combine durable infantry, high leadership, and heavy ranged firepower, making formation discipline central to winning battles. Their slow movement and lack of cavalry make every exposed flank dangerous.
This guide covers the original 2016 game, including its expanded Dwarf roster. Its campaign advice centers on the traditional Karaz-a-Karak start.
Armor, melee defense, and leadership give Dwarf infantry staying power. That endurance buys time for crossbows, handguns, and artillery to damage enemies tied up at the front. Armor-piercing attacks threaten that advantage, while cavalry and monsters can disrupt the formation protecting your ranged troops.
Build around three jobs: holding the line, delivering ranged damage, and stopping anything that tries to reach your rear. Keep those jobs covered before adding more expensive specialists.
Official page: Total War: WARHAMMER (store.steampowered.com)
Choose Infantry for Holding Power or Damage
Dwarf infantry includes defensive troops, armor-piercing attackers, and specialists for large targets. Give each unit a specific assignment rather than expecting every armored regiment to perform the same job.
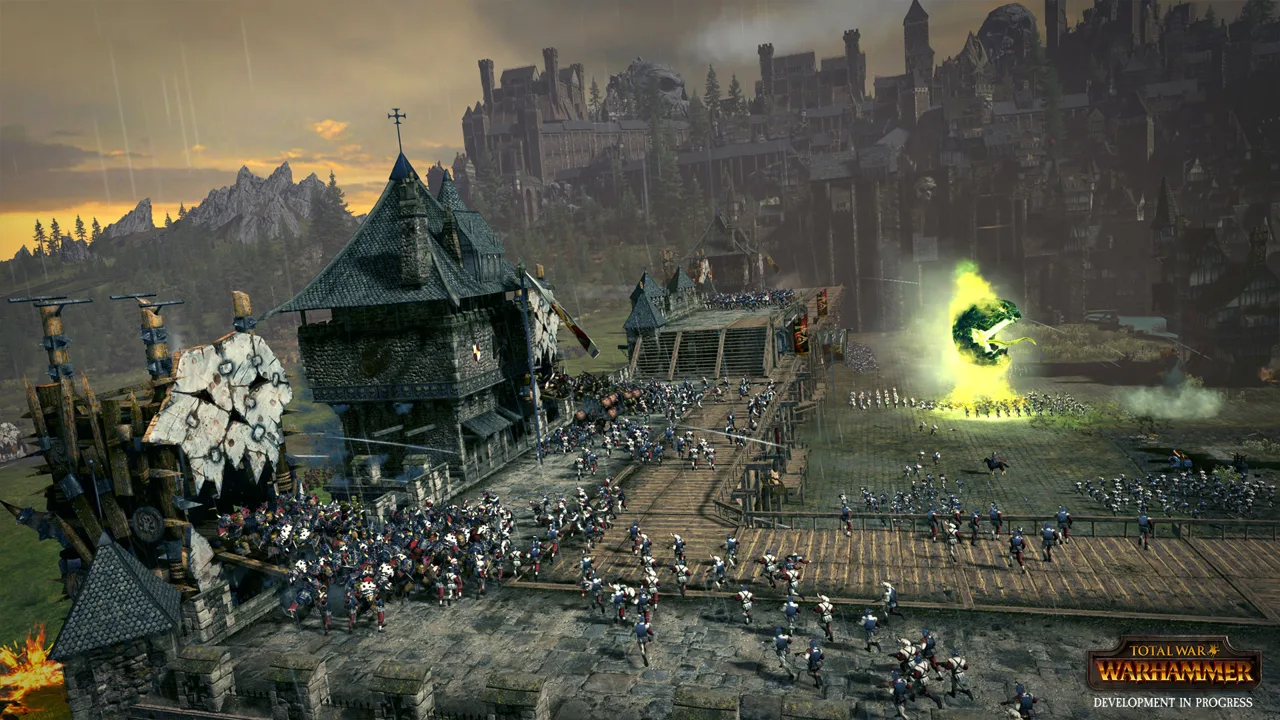 Image: Steam / CREATIVE ASSEMBLY
| Unit | Defining traits | Battlefield role |
|---|---|---|
| Dwarf Warriors | Armored, shielded infantry with strong staying power for their cost | Hold the front while ranged units fire |
| Longbeards | Tougher infantry with leadership support through Old Grumblers | Maintain the line against greater pressure |
| Great-weapon variants | Armor-piercing melee damage | Fight armored enemies |
| Ironbreakers | Heavy armor, high melee defense, and blasting charges | Anchor the formation and disrupt approaching troops |
| Hammerers | Strong armor-piercing damage with less defensive staying power | Attack dangerous armored infantry |
| Slayers | Anti-large damage without armor | Intercept cavalry and monsters |
Keep defensive infantry in front
Use Dwarf Warriors to establish an affordable line, then reinforce it with Longbeards as tougher opposition appears. Their durability lets you spend elsewhere without leaving the army dependent on elite infantry.
Ironbreakers take the holding role further. Their defenses make them difficult to shift, and their explosive charges punish enemies approaching the line. Support them with damage dealers against heavily armored opponents; their endurance does more work than their melee killing power.
Commit specialists to the right fight
Keep Hammerers available to engage armored infantry once the battle lines meet. Their offensive strength comes with lower melee defense, so avoid making them absorb every attack across the front.
Protect Slayers from missile fire and cavalry charges. Hold them behind your defensive troops, then send them into large enemies already committed to combat. Chasing cavalry away from your formation exposes their lack of armor and pulls protection away from your guns.
Miners provide inexpensive bodies and armor-piercing melee attacks. Their gate-breaking role also gives them a purpose in sieges. Use blasting-charge variants to disrupt approaching enemies, while keeping sturdier infantry responsible for holding prolonged engagements.
Match Your Ranged Units to the Target
The main distinction between Quarrellers and Thunderers is how they deliver damage.
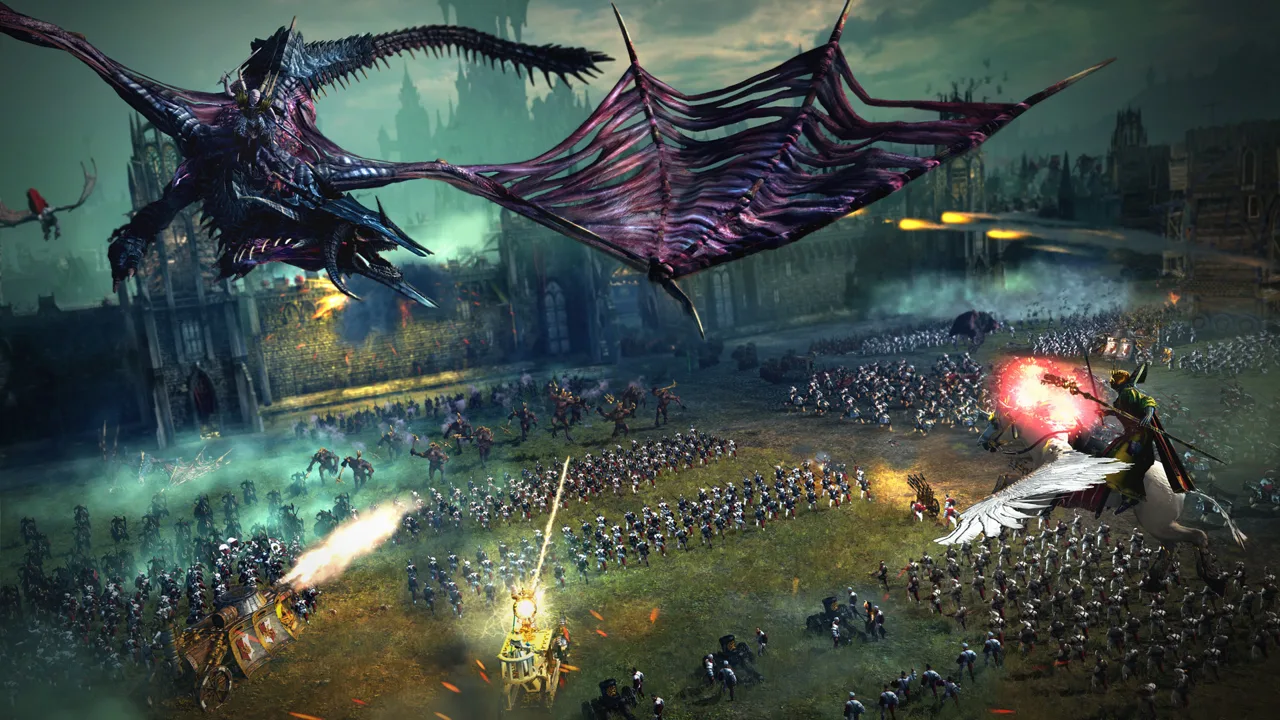 Image: Steam / CREATIVE ASSEMBLY
Quarrellers fire crossbows in an arc, giving them more flexibility when shooting over friendly troops. Their armor also helps them withstand exchanges with lightly armored missile units.
Thunderers deliver armor-piercing gunfire along a much flatter trajectory. They threaten armored infantry, cavalry, and large mounted characters, but friendly units and uneven ground can block their shots.
Leave clear firing lanes for Thunderers before the fighting begins. Check the terrain from their position: an apparently open gap can still conceal a rise that obstructs their guns.
Remember that Quarrellers with Great Weapons gain armor-piercing melee attacks. Their crossbow bolts do not become armor-piercing.
Other missile units fill more specialized roles:
- Rangers: Use their Vanguard deployment and concealment for ambushes or attacks from an unexpected direction. Their lighter armor makes protection important.
- Rangers with Great Weapons: Bring their short-range throwing axes against armored targets, using concealment to approach.
- Irondrakes: Direct their flamethrowers into lightly armored infantry. Their short range demands close protection.
- Irondrakes with Trollhammer Torpedoes: Concentrate their armor-piercing, anti-large fire on cavalry and monsters.
Keep short-range weapons close enough to supporting infantry that an enemy charge cannot isolate them. Their damage matters only while they remain free to shoot.
Use Artillery to Control the Approach
A defensive army needs a reason for the enemy to advance. Artillery provides that pressure, letting your infantry receive the attack while your ranged units punish the approach.
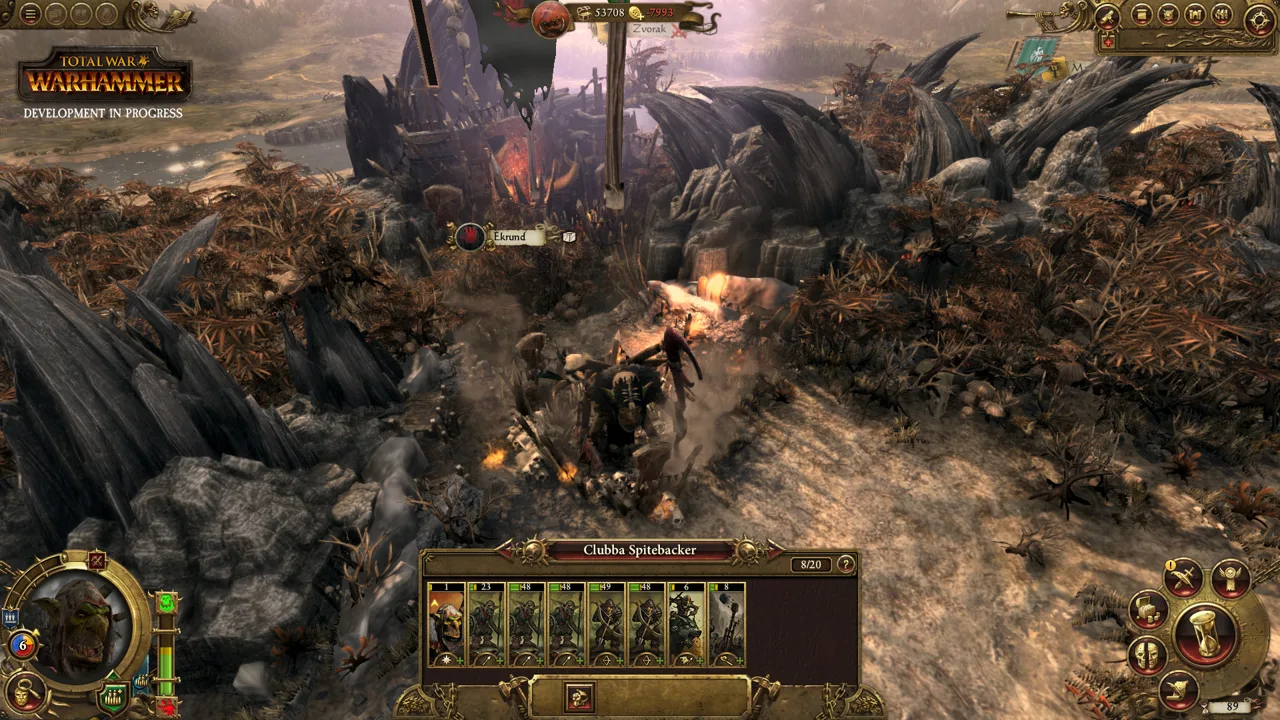 Image: Steam / CREATIVE ASSEMBLY
Choose pieces around their targets and firing requirements:
- Grudge Throwers provide long-range bombardment against infantry. Prioritize dangerous formations before they reach your line.
- Cannons deliver accurate, armor-piercing shots against large targets. Concentrate fire on threatening monsters or mounted enemies.
- Organ Guns combine armor-piercing fire with a shorter range. Cover an approach used by cavalry, while leaving room to shoot.
- Flame Cannons attack infantry crowds with fiery projectiles. Account for their shorter range when positioning them.
Against Vampire Counts, use artillery to draw their army toward your position, then invest in the troops needed to survive the engagement. Against the Empire, account for enemy artillery: remaining stationary under superior bombardment can force an unfavorable exchange.
Use flying machines for ranged attacks
Gyrocopters add mobility to an otherwise slow army. Standard variants attack lightly armored infantry, while Brimstone Guns provide armor-piercing, anti-large fire. Gyrobombers bring bombing attacks against concentrated troops.
Keep these machines away from enemy missile concentrations and flying attackers. Dwarf Gyrocopters cannot land, so use them to shoot, reposition, and drop ordnance rather than attempting cavalry-style melee charges.
Coordinate bombing runs with the ground battle. Attack enemy formations once they bunch together against your infantry, while watching the route back to safety.
Build a Formation That Protects Your Firepower
Deployment determines how much work your infantry and guns can do together. A long, thin line leaves more ground to defend; a formation without firing lanes wastes the ranged damage that makes the army dangerous.
Set up with these priorities:
- Choose defensible terrain. Use high ground where it preserves visibility and makes enemy approaches harder.
- Establish a durable front. Place holding infantry where the main attack will arrive.
- Cover both ends of the line. Keep troops ready to face enemies approaching from the side.
- Clear direct-fire lanes. Give Thunderers and Organ Guns unobstructed approaches to their targets.
- Keep a reserve. Hold infantry or Slayers behind the formation to intercept breakthroughs.
- Watch the rear. Track cavalry, chariots, and flying units as the main lines engage.
Face charge-defense units toward the incoming threat and let them brace. Keep Slayers protected until they can engage without taking the full charge.
When several threats arrive together, concentrate fire on whichever can break the formation fastest. Cavalry circling toward an Organ Gun can demand attention before infantry already contained at the front.
Avoid sending your reserve after every retreating enemy. Return it to a protective position when the immediate threat passes. Slow infantry can spend too much of the battle pursuing something they cannot catch.
Support the Army With Lords, Heroes, and Runes
Dwarf characters reinforce the army’s strengths through melee endurance, runic abilities, and ranged support.
Thorgrim Grudgebearer provides a durable battlefield presence. Keep supporting troops nearby when committing him; tough characters still need protection against concentrated enemy attacks.
A Thane adds an armored melee hero who can support a pressured section of the line. Use one where holding an enemy in place gives your ranged troops time to act.
A Runesmith brings runic support. Dwarfs do not use conventional spellcasting or draw their powers from the Winds of Magic. Their innate magic resistance and runes give them a different way to withstand magical threats and support their warriors.
A Master Engineer supports missile troops and artillery through ranged buffs. Position one near the units benefiting from those abilities, and use the Engineer’s own ranged attack against suitable targets, including exposed flying characters.
Choose support around the army you actually field. Give an Engineer ranged troops to improve, and commit melee heroes where they help preserve the formation.
Expand From Karaz-a-Karak Without Exposing Your Holds
The Karaz-a-Karak campaign rewards measured expansion. Nearby Greenskin tribes create immediate military pressure, while neighboring Dwarf factions offer diplomatic opportunities.
Develop your economy around the capital before stretching your army across too much territory. After a conquest, secure the new position before advancing again. A chain of vulnerable settlements gives enemies opportunities your slow main army can struggle to answer.
Use defensive victories to create openings. Defeat an attacking force around your holds, then retaliate while its army is weakened. Push toward another objective when your existing territory can support the move.
Build relationships with neighboring Dwarfs and pursue confederation as part of securing the mountains and Badlands. Balance that growth against the extra territory you must defend.
The Book of Grudges gives the campaign its purpose: settling wrongs recorded in the Dammaz Kron and restoring the Dwarf realm. Review it alongside your victory objectives when choosing the next target.
For a new campaign:
- Select Normal to learn an unfamiliar race.
- Enable the introduction when choosing your Legendary Lord to learn the campaign and battle controls.
- Move to Very Hard when you can manage economy, diplomacy, character development, and battles together.
- Choose Legendary with its restrictions on saving and issuing orders while paused in mind.
Use the Underway to Navigate the Mountains
The Underway lets Dwarf armies travel beneath obstacles that complicate surface movement. It provides valuable campaign mobility even though your troops remain slow in battle.
To use it:
- Select your army.
- Move the cursor over the green Situation button in the bottom-left corner.
- Choose Use Underway from the stance menu.
Plan the destination before committing. Enemy armies can intercept Underway movement, forcing a battle in the tunnels.
Use the stance to cross difficult terrain or reposition around a surface threat, then assess the enemy forces near your intended destination. Keep the army ready to fight during the crossing: the route beneath the mountains carries its own danger.
Continue with
 Total War: WARHAMMER Empire Guide: Armies & CampaignMaster the Total War: WARHAMMER Empire with tips on army roles, artillery, cavalry, diplomacy, and campaign defense. Build a force ready to hold the line.
More in Factions
Total War: WARHAMMER Bretonnia Guide: Lords and Units
Master Total War: WARHAMMER Bretonnia with a guide to Legendary Lords, knightly vows, Chivalry, army units, and the original campaign's item quest chains.
Total War: WARHAMMER Factions: Army and Campaign Guide
Explore Total War: WARHAMMER factions, compare their armies and campaign styles, and learn how to use diplomacy, armor, cavalry, and magic to win battles.
Total War: WARHAMMER Greenskins: Campaign & Army Guide
Master Total War: WARHAMMER greenskins with tips on Fightiness, Waaagh! armies, Grimgor, unit choices, and building an economy that keeps conquest moving.
Total War: WARHAMMER Vampire Counts Strategy Guide
Master Total War: WARHAMMER vampire counts with army tips, early campaign tactics, healing support, and Regiments of Renown choices for tougher battles.
Join the community
Official channels for news, updates and player help: