Total War: WARHAMMER Empire Guide: Armies & Campaign
Master the Total War: WARHAMMER Empire with tips on army roles, artillery, cavalry, diplomacy, and campaign defense. Build a force ready to hold the line.
Jump to
How the Empire Wins Battles
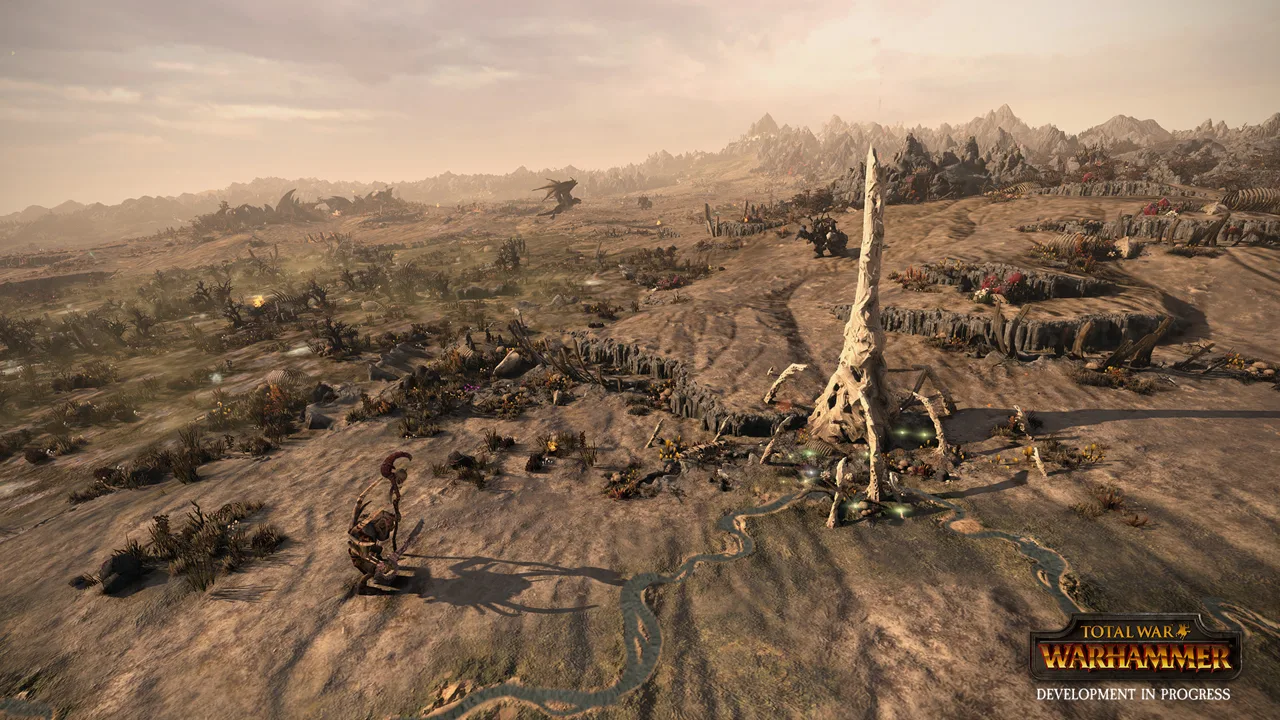
The Total War: WARHAMMER Empire roster brings together soldiers, gunpowder, cavalry, and magic—and needs them working together to survive. Infantry buys time for artillery and missile troops to deal damage, while cavalry delivers the charges that break an engaged enemy. This guide covers the original game's Old World campaign and battlefield roster.
The Empire's strength is flexibility. You have tools for fighting armored infantry, giant monsters, cavalry, and flying threats, but those tools need suitable targets and room to operate. Basic infantry cannot carry every engagement, and an expensive artillery battery accomplishes little behind a hill that blocks its shots.
Build your battle plan around three jobs:
- Weaken the approach. Fire artillery into dangerous targets before they reach your formation.
- Hold the engagement. Use infantry and leadership support to keep enemies occupied.
- Exploit the opening. Move cavalry around engaged troops and bring missile units onto exposed targets.
Keep reserves near your guns when the enemy has fast cavalry or flying units. Committing every melee unit to the front leaves your damage dealers exposed.
Official page: Total War: WARHAMMER (store.steampowered.com)
Choose Lords and Heroes for Their Battlefield Jobs
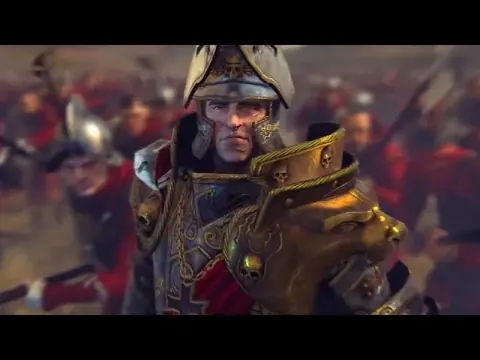
Karl Franz and Balthasar Gelt offer different ways to lead an Empire army. Franz is a strong melee fighter suited to confronting enemy characters. Gelt brings the Lore of Metal, with much weaker personal protection in close combat.
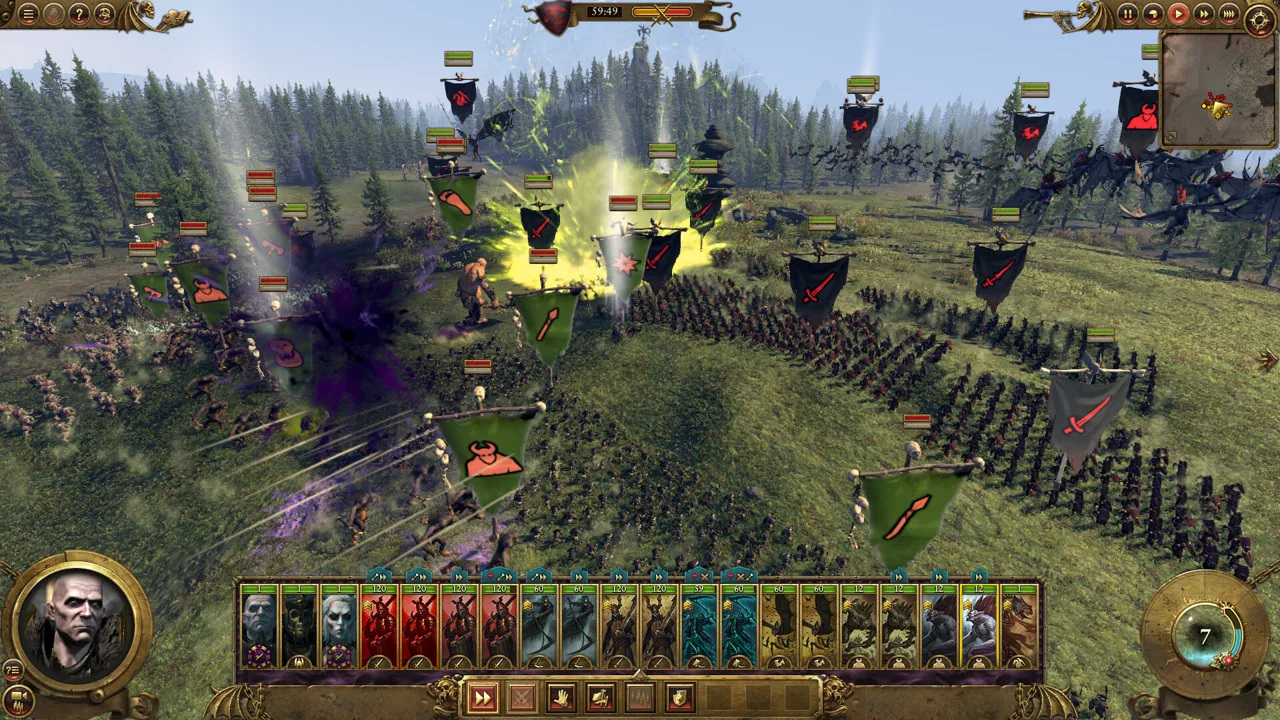 Image: Steam / CREATIVE ASSEMBLY
Choose Franz when you want a fighting lord, and support his engagements rather than letting him become surrounded. When using Deathclaw, watch for enemy flyers that can isolate him in the air.
Keep Gelt away from melee threats and use his spells against armored opponents. His value comes from casting while the rest of the army holds the enemy in place.
Other characters fill specific gaps:
- Empire Captain: Use him to support your lord or pressure vulnerable enemy spellcasters.
- Warrior Priest: Keep him near infantry that needs leadership support and battle prayers.
- Witch Hunter: Direct his ranged attacks and character-focused abilities toward exposed enemy lords and heroes.
- Battle Wizard: Choose a lore that supports the engagement you expect to fight.
Use Life magic to help important units endure longer. Bring Fire magic against units with fire weaknesses. Use a Light Wizard's immobilizing spell to hold a dangerous target under missile fire or set up a cavalry attack.
Spend magic where another unit can exploit the result immediately. Stopping enemy cavalry in front of ready Handgunners creates a much stronger opportunity than stopping it beyond your army's reach.
Build a Front Line That Supports Your Missiles
Empire infantry gives your ranged troops and cavalry time to work. Swordsmen can occupy ordinary infantry, while spears and halberds help protect the formation against larger enemies.
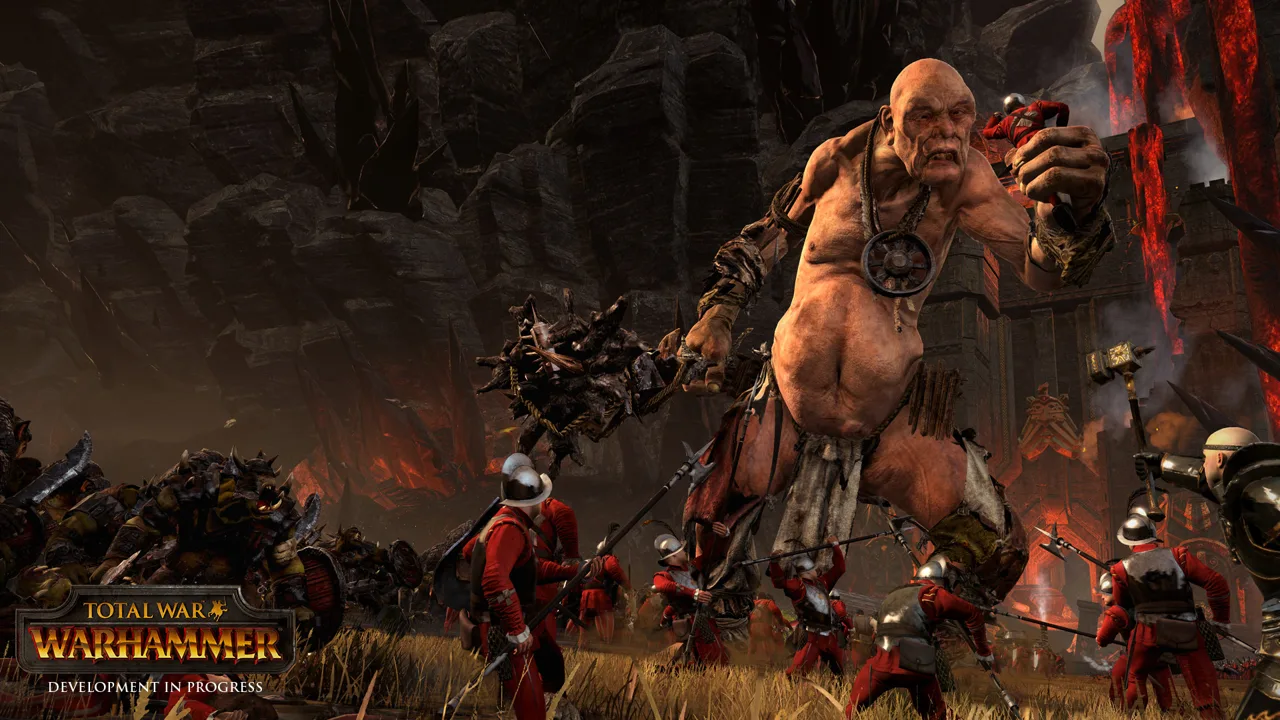 Image: Steam / CREATIVE ASSEMBLY
Greatswords add armor-piercing damage against infantry, but they still need support against powerful elite units. Avoid turning the entire battle into isolated infantry duels.
| Unit | Battlefield role | Limitation to manage |
|---|---|---|
| Swordsmen | Basic melee line against infantry | Need support against stronger opponents |
| Spearmen | Inexpensive protection against large units | Strong cavalry and monsters can overwhelm them |
| Spearmen with shields | Anti-large infantry with missile protection | Still need support against powerful large targets |
| Halberdiers | Armor-piercing attacks against large enemies | Support them with ranged fire against large enemies |
| Greatswords | Armor-piercing melee damage against infantry | Expensive and vulnerable to unfavorable matchups |
| Crossbowmen | Ranged damage against lightly armored troops | Less effective against heavy armor |
| Handgunners | Armor-piercing fire against armored and large targets | Require clear firing lanes |
Place Handgunners where friendly troops and terrain will not obstruct their shots. Crossbowmen have a more forgiving firing arc, but they still need protection from melee attacks.
When the lines meet, move missile units toward safe firing angles instead of leaving them idle behind your infantry. Large monsters can offer exposed targets, while enemy infantry becomes vulnerable when you can shoot into its flank.
Free Company Militia offers a different option: mobile pistol fire combined with some melee capability. Use its speed and Vanguard Deployment to work around a flank, then shoot into enemies occupied by your main line. Keep it away from fights that require durable infantry.
Match Your Artillery to the Target and Terrain
Artillery should make the approaching army easier to handle. Concentrate on threats your infantry cannot comfortably absorb, and check the ground between the battery and its target before committing to a position.
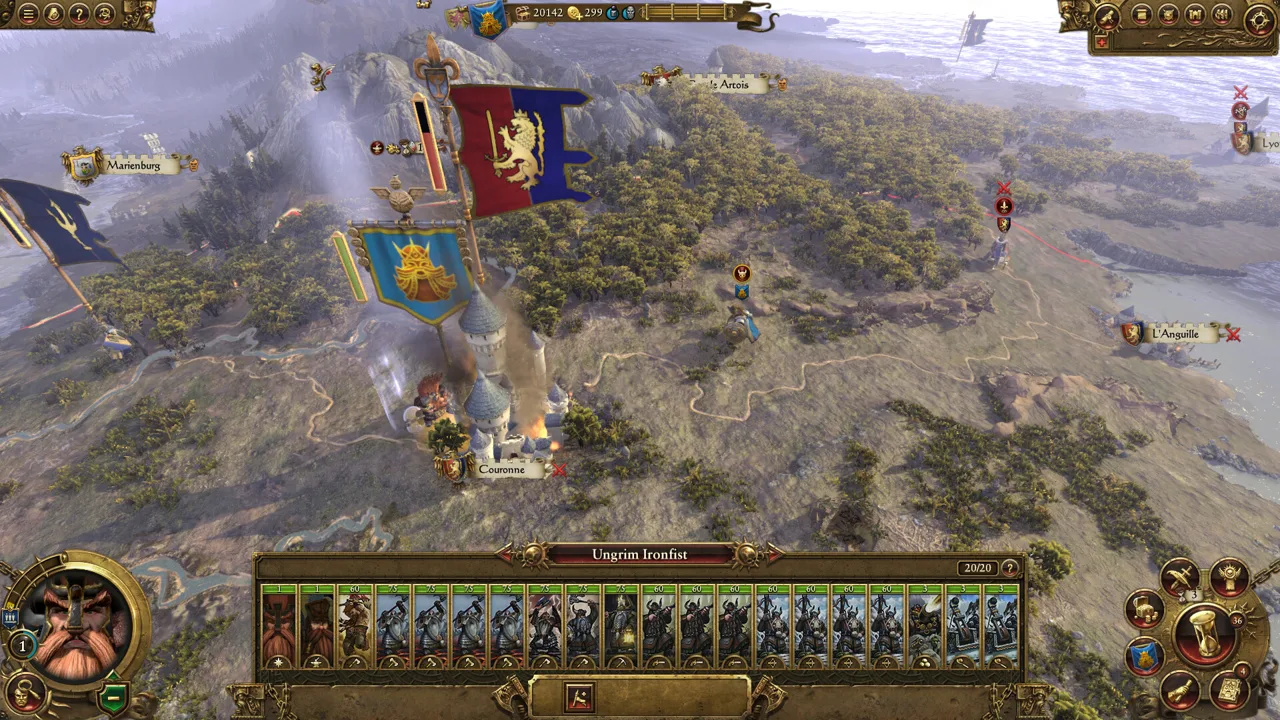 Image: Steam / CREATIVE ASSEMBLY
| Artillery | Target or function | Positioning concern |
|---|---|---|
| Mortar | Bombarding lightly armored infantry | High firing arc clears obstacles more easily |
| Great Cannon | Shooting large targets at range | Low trajectory needs an open firing lane |
| Helblaster Volley Gun | Damaging armored infantry and cavalry | Shorter range and direct fire demand careful placement |
| Helstorm Rocket Battery | Bombarding groups of infantry | Inaccuracy favors broad formations over isolated targets |
| Luminark of Hysh | Powerful shots against characters and large units | Expensive and vulnerable when caught in melee |
| Steam Tank | Cannon fire combined with armored melee disruption | Armor-piercing enemies threaten its durability |
Fire rockets into dense infantry formations, where scattered shots have more opportunities to connect. Direct cannons toward monsters and other large targets rather than asking them to perform the same job as a mortar.
Watch the battlefield as the enemy advances. Trees can intercept shots, and an army moving behind a ridge can deny your battery useful targets. Reposition when the enemy's route defeats your firing angle.
Once friendly infantry is engaged, redirect explosive fire away from tightly mixed formations. Keep shooting at approaching reinforcements, exposed missile troops, or other targets separated from your soldiers.
Use Cavalry to Finish Engagements
Most Empire heavy cavalry rewards repeated charges. Empire Knights and Reiksguard can strike engaged enemies hard, but leaving them in prolonged combat wastes their mobility and charge damage.
Hold them back until enemy flank defenders are occupied. Then move around the battle line and charge into the rear of infantry already fighting your soldiers.
After the charge, pull cavalry out when it has a clear escape route and prepare another attack. Avoid withdrawing through dense enemy formations, where the unit can become trapped.
Demigryph Knights require a deliberate choice of target:
- Use regular Demigryph Knights against infantry.
- Use Demigryph Knights with halberds against large enemies, including armored cavalry and monsters.
Do not pay for an anti-large specialization when the opposing army offers little for it to fight.
Against monsters, combine tools rather than relying on a single counter. Weaken the target with cannons or Handgunners, hold it with appropriate infantry, and attack with anti-large cavalry when an opening appears.
Against flyers, keep missile units ready and protect them from ground attackers. The Empire has limited airborne options beyond mounted characters, so let its ranged weapons help control the sky.
Expand Through Diplomacy Without Overloading Your Campaign
In the Old World campaign, diplomacy can expand your territory while preserving soldiers for more dangerous wars. Seek non-aggression pacts and trade agreements with neighboring Empire factions, then work toward confederation when the political and financial situation supports it.
Before accepting a confederation, inspect what you will inherit:
- Army upkeep: Additional armies can turn a healthy income into a deficit.
- Settlement layouts: Newly acquired provinces may need their buildings reorganized.
- Border exposure: Distant holdings create new places you must defend.
- Diplomatic timing: Confederation brings temporary penalties and a five-turn restriction on further confederations.
Keep some neighboring factions alive as buffers when they stand between your heartland and a stronger threat. Northern expansion can bring direct responsibility for defending territory exposed to the Chaos invasion.
Support useful neighbors instead of assuming they will survive unaided. A buffer only buys time while it remains capable of resisting the enemy.
Use allies to share the fighting. Assign war coordination targets to direct attention toward armies or settlements you cannot reach with your own forces. Keep your main army focused on a manageable front instead of marching between emergencies across the map.
When defending, combine field armies with settlement garrisons where possible. Use fortified positions to improve difficult matchups, then counterattack after the immediate threat has been weakened.
Plan Provinces Around Building Limits
Open each province's building browser before investing heavily in recruitment infrastructure. Minor settlements cannot reach settlement tiers 4 or 5, so reserve buildings requiring those levels for provincial capitals.
Use the building tree to work backward from the units you want. Check the required settlement level and supporting structures before spending money on a chain that cannot finish in that location.
Look for local advantages before choosing recruitment centers:
- Altdorf has a port option, giving it an additional building consideration.
- Woodworkers' buildings can reduce Crossbowmen recruitment costs and improve their starting experience.
- Special provincial buildings can provide bonuses worth planning around.
Recruit relevant troops where those benefits apply. Before rebuilding a confederated province, inspect its existing special buildings and recruitment bonuses so you preserve the advantages that make the province useful.
Continue with
 Total War: WARHAMMER Factions: Army and Campaign GuideExplore Total War: WARHAMMER factions, compare their armies and campaign styles, and learn how to use diplomacy, armor, cavalry, and magic to win battles.
More in Factions
Total War: WARHAMMER Bretonnia Guide: Lords and Units
Master Total War: WARHAMMER Bretonnia with a guide to Legendary Lords, knightly vows, Chivalry, army units, and the original campaign's item quest chains.
Total War: WARHAMMER Dwarfs: Army and Campaign Guide
Master Total War: WARHAMMER dwarfs with army roles, firing lanes, flank defense, and campaign tips to hold your ground and reclaim the ancestral holds.
Total War: WARHAMMER Greenskins: Campaign & Army Guide
Master Total War: WARHAMMER greenskins with tips on Fightiness, Waaagh! armies, Grimgor, unit choices, and building an economy that keeps conquest moving.
Total War: WARHAMMER Vampire Counts Strategy Guide
Master Total War: WARHAMMER vampire counts with army tips, early campaign tactics, healing support, and Regiments of Renown choices for tougher battles.
Join the community
Official channels for news, updates and player help: