Total War: WARHAMMER Vampire Counts Strategy Guide
Master Total War: WARHAMMER vampire counts with army tips, early campaign tactics, healing support, and Regiments of Renown choices for tougher battles.
Jump to
How the Vampire Counts Fight
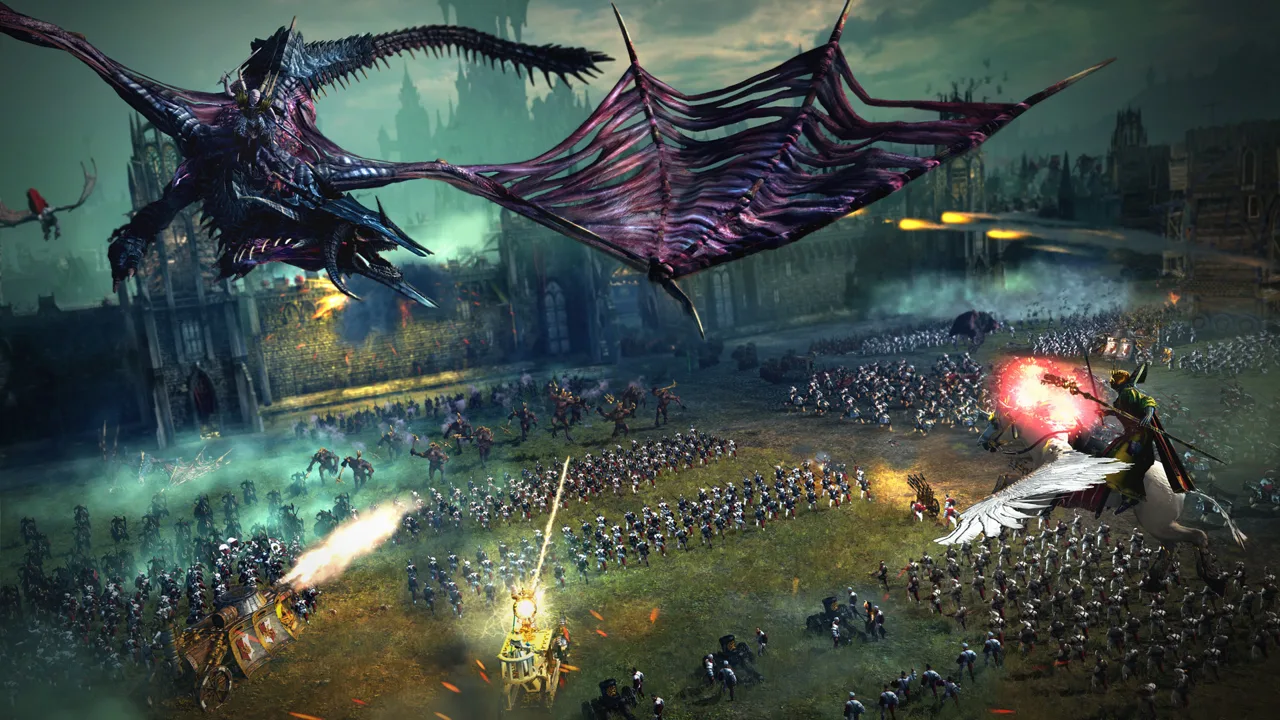
A wall of undead infantry only does half the job. Total War: WARHAMMER Vampire Counts armies need their monsters, cavalry, and flying units to reach the targets that matter. Tie down the enemy’s front line, then shut down the missile troops and artillery threatening your damage dealers.
The faction lacks conventional ranged units, so its battlefield tools revolve around melee pressure, mobility, and magic. This guide covers the original game’s Old World campaign and battles, including units from The Grim and the Grave.
Build around complementary roles. Zombies can occupy enemy troops, fast units can threaten exposed missile units, and heavier attackers can concentrate damage where you need a breakthrough. Avoid expecting every regiment to win its own isolated fight.
Official page: Total War: WARHAMMER (store.steampowered.com)
Choose Units for the Enemy You’re Facing
The strongest-looking unit card does not automatically justify its cost. Armor-piercing damage, anti-large bonuses, mobility, and protection all matter differently depending on the opposing army.
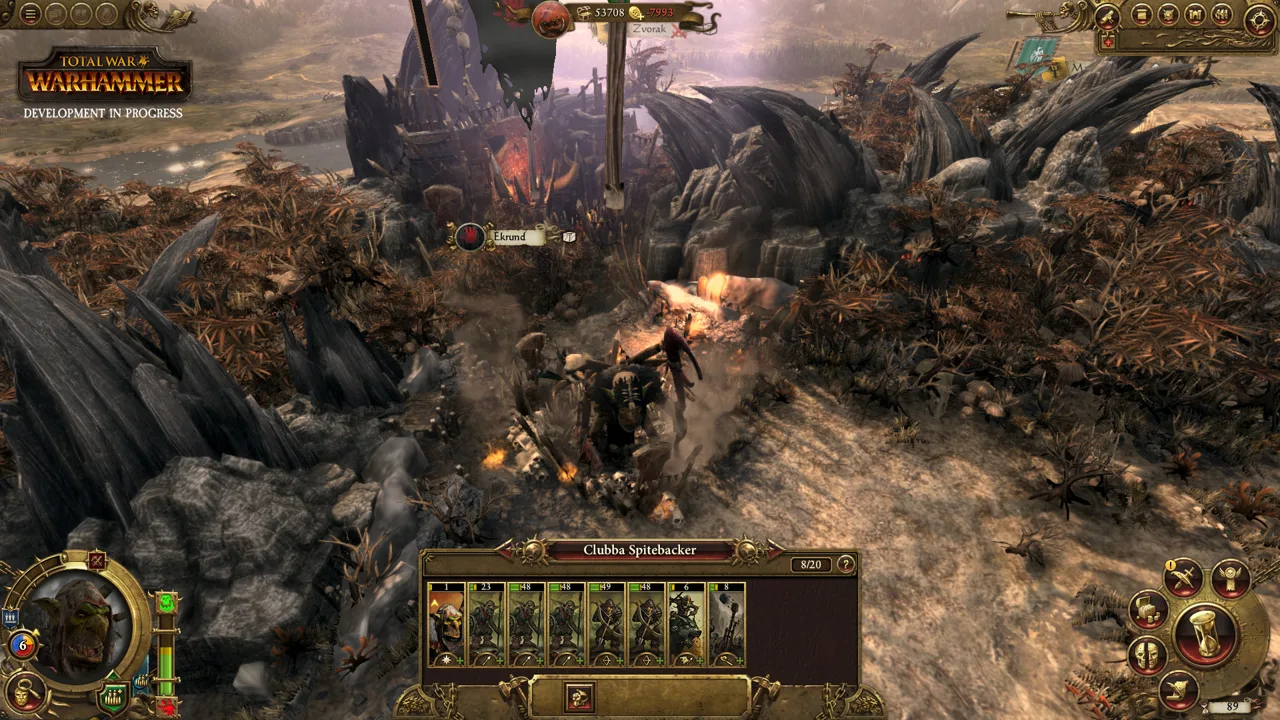 Image: Steam / CREATIVE ASSEMBLY
Against Dwarfs: Bring Armor-Piercing Damage
Dwarf armor makes damage selection especially important. Crypt Horrors offer more armor-piercing damage than Vargheists in the original game, while Vargheists bring flight and different opportunities for reaching targets.
Choose Crypt Horrors when building around a ground assault against armored infantry. Use flying attackers to threaten exposed ranged troops rather than judging them entirely by their ability to grind through the front line.
Against Large Units: Watch the Matchup
Enemy anti-large specialists threaten your monsters and cavalry. Demigryph Knights with halberds are a particularly dangerous example: their anti-large bonus makes engagements against Black Knights and Vargheists favorable for them.
Move your large units away from those counters when possible. Bring Skeleton Spearmen toward the engagement to pressure enemy cavalry, and keep your more expensive attackers working elsewhere.
Do not confuse an anti-large bonus with guaranteed victory. Unit quality, remaining health, support, and positioning still affect the fight.
Against Missile Troops: Create Access
Unarmored ranged units and artillery crews give your mobile attackers valuable targets. Send cavalry or flying units around the main engagement, and avoid charging directly through waiting spears.
Keep checking those attackers after issuing an order. A unit that reaches the enemy’s rear can still lose its value if defending cavalry catches it or if it sits idle after its target breaks.
Support Your Infantry With Healing and Buffs
Cheap infantry becomes more useful when it buys time for the rest of the army. Zombies are not independent damage dealers, but their staying power can keep an enemy unit occupied while another fight develops nearby.
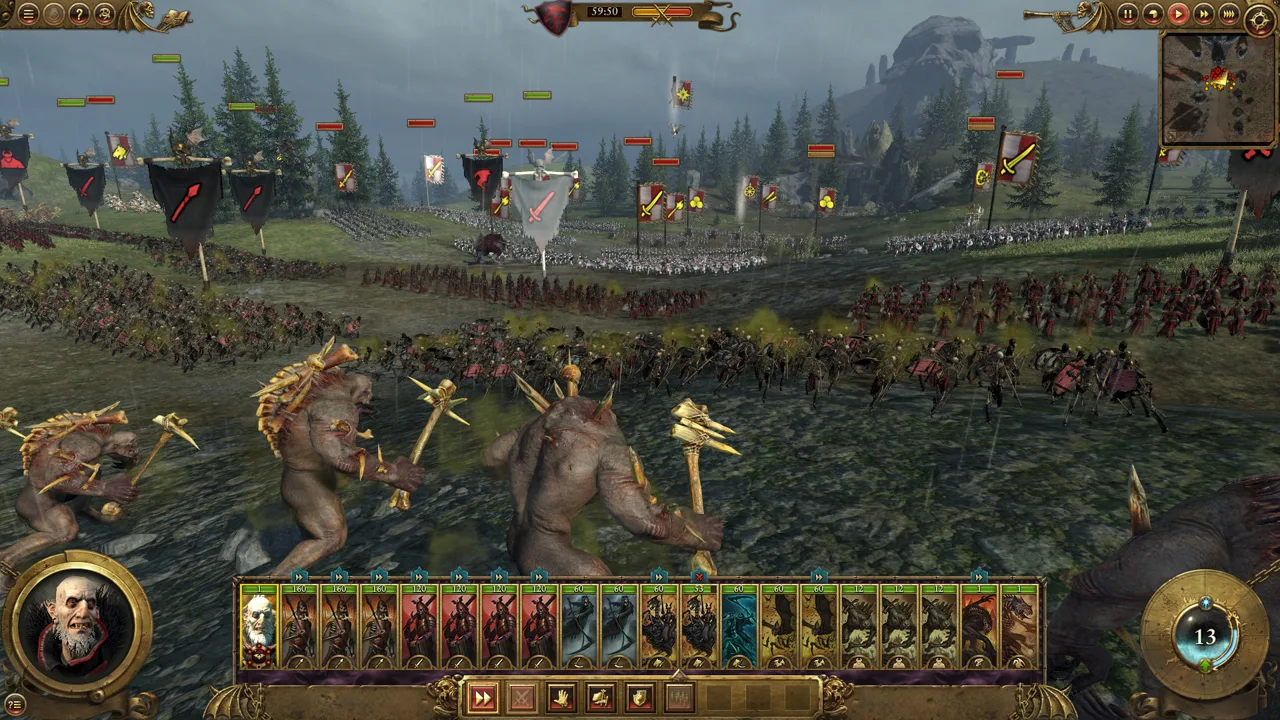 Image: Steam / CREATIVE ASSEMBLY
The Tithe adds more bodies and durability to that basic role. Support it with healing and combat buffs when you need it to prolong an engagement.
A Necromancer mounted on a Corpse Cart with an Unholy Lodestone can support this style of fighting. Combine that support with healing spells to sustain troops already holding useful positions.
Spend that attention deliberately. Support the infantry keeping dangerous enemies away from your attackers, rather than automatically reinforcing whichever unit is taking the most damage.
Regeneration also carries a specific weakness: flaming attacks hurt regenerating units more. Keep that in mind when committing The Sternsmen or regenerating Black Knight regiments against enemies equipped to exploit it.
Coordinate the Front Line and Flanking Attack
Movement is where a workable army composition becomes a winning engagement. Sending each unit toward its nearest opponent throws away much of the faction’s flexibility.
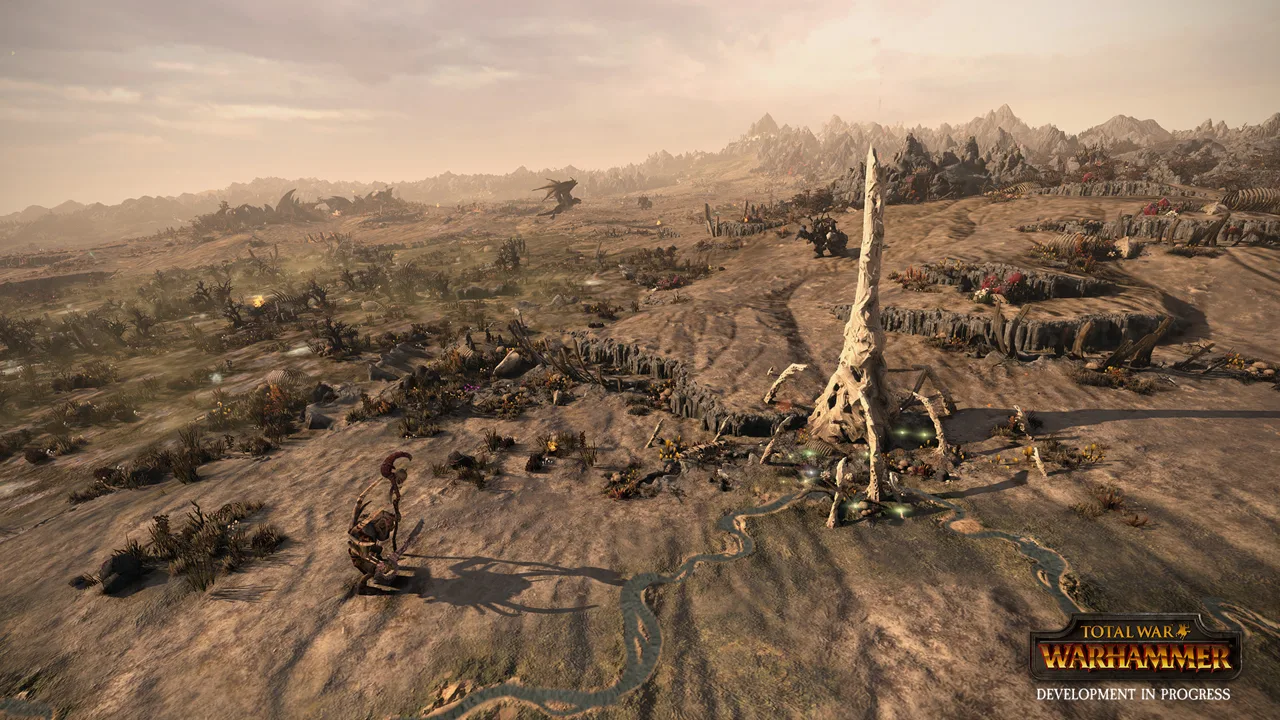 Image: Steam / CREATIVE ASSEMBLY
Use this sequence to organize your attack:
- Identify the enemy’s counters. Locate anti-large troops, missile units, and artillery before committing your monsters or cavalry.
- Make contact with supporting units nearby. Avoid letting faster attackers arrive alone and absorb concentrated missile fire.
- Occupy the front line. Use infantry to keep enemy melee troops busy while mobile units move toward exposed targets.
- Attack the back line. Interrupt missile fire and artillery with units that can reach them without running through their counters.
- Redirect units as fights change. Pull valuable attackers away from unfavorable engagements and reinforce places where their damage type helps.
Bracing matters when you face charge defense. A stationary, properly braced unit can negate the relevant charge bonus; attacking it head-on with cavalry wastes part of what you paid for. Look for a flank or another target instead.
Likewise, avoid leaving monsters in an anti-large engagement simply because they survived the initial contact. Preserve their health for matchups where their damage can accomplish more.
Pick Campaign Wars Carefully
The Old World campaign places the Vampire Counts in a corner of the Empire, with Dwarfs to the south and east. Nearby targets can bring diplomatic complications: declaring war on one Empire or Dwarf faction can draw its friends into the conflict.
Inspect those relationships before choosing your next opponent. Avoid opening another front while your army is occupied with an existing war.
Capital settlements also deserve special attention. Their unique settlement buildings strengthen the early economy, and their garrisons become more powerful as the capital develops. Prepare for a major capital assault rather than treating it like another minor settlement.
For learning an unfamiliar race, Normal difficulty offers a manageable starting point. Higher difficulty also changes campaign behavior: on Very Hard, computer-controlled factions are more willing to exploit weakness and declare opportunistic wars.
Give Regiments of Renown a Specific Job
The Grim and the Grave introduces specialized regiments whose additional abilities can change how you handle an engagement. Choose them for a task your army needs.
| Regiment | Distinctive attributes | Battlefield role |
|---|---|---|
| The Tithe | 40 additional bodies and 15% physical resistance compared with regular Zombies | Prolonging engagements |
| The Sternsmen | Regeneration and charge defense against all | Holding a supported position |
| Chillgeists | 25% magic resistance and a chilling aura that slows enemies within 45 m by 36% | Restricting enemy movement |
| The Claw of Nagash | Mortise Engine with 25% magic resistance and the same chilling aura | Supporting an anti-infantry engagement |
The Sternsmen’s charge defense requires bracing to negate charge bonuses. Set them in position before the impact, and account for their vulnerability to flaming attacks when choosing what they should hold.
Pair Chillgeists with Blood Knights when you want to restrict enemy cavalry movement. Their slowing aura can make hit-and-run attacks harder to execute and help keep a target within reach.
Use The Claw of Nagash where its slowing aura and anti-infantry role contribute to the same fight. Keep nearby troops engaged so the enemy has fewer opportunities to disengage.
Premium regiments also consume more of a battle budget. Before replacing a regular unit, identify the ability you intend to use and the target it will affect. Keep the cheaper option when the upgrade would leave another essential role uncovered.
Continue with
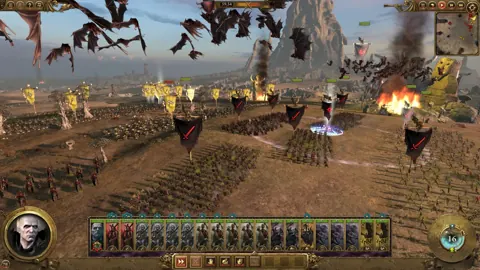 Total War: WARHAMMER Bretonnia Guide: Lords and UnitsMaster Total War: WARHAMMER Bretonnia with a guide to Legendary Lords, knightly vows, Chivalry, army units, and the original campaign's item quest chains.
More in Factions
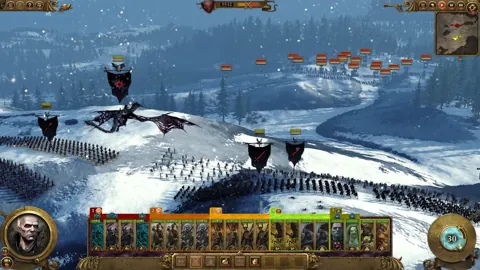
Total War: WARHAMMER Dwarfs: Army and Campaign Guide
Master Total War: WARHAMMER dwarfs with army roles, firing lanes, flank defense, and campaign tips to hold your ground and reclaim the ancestral holds.
Total War: WARHAMMER Empire Guide: Armies & Campaign
Master the Total War: WARHAMMER Empire with tips on army roles, artillery, cavalry, diplomacy, and campaign defense. Build a force ready to hold the line.
Total War: WARHAMMER Factions: Army and Campaign Guide
Explore Total War: WARHAMMER factions, compare their armies and campaign styles, and learn how to use diplomacy, armor, cavalry, and magic to win battles.
Total War: WARHAMMER Greenskins: Campaign & Army Guide
Master Total War: WARHAMMER greenskins with tips on Fightiness, Waaagh! armies, Grimgor, unit choices, and building an economy that keeps conquest moving.
Continue exploring
Join the community
Official channels for news, updates and player help: