Total War: WARHAMMER Greenskins: Campaign & Army Guide
Master Total War: WARHAMMER greenskins with tips on Fightiness, Waaagh! armies, Grimgor, unit choices, and building an economy that keeps conquest moving.
Jump to
How the Greenskins Play
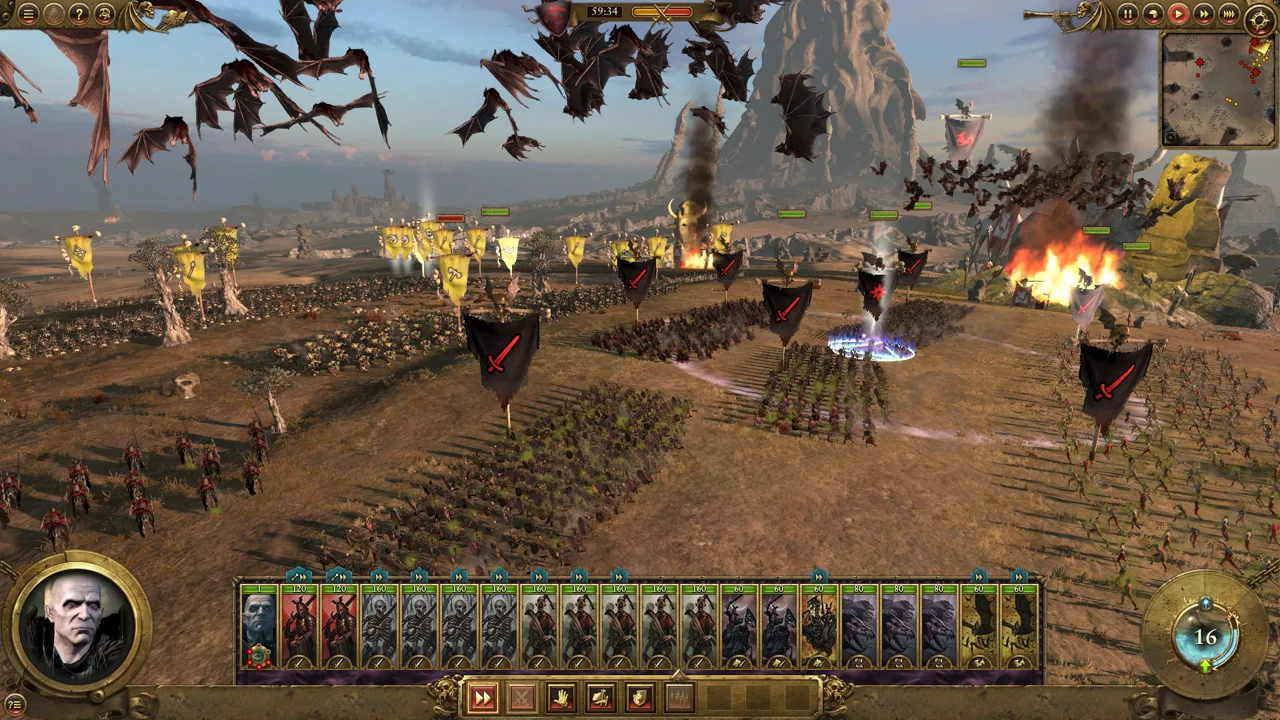
Your army gets restless when the fighting stops. Total War: WARHAMMER greenskins turn aggression into money and military momentum through raiding, sacking, and extra Waaagh! armies. Keep those systems working together, and you can fund expansion while keeping your troops from fighting each other.
This guide covers the original game’s Old World campaign and its Fightiness system. The central challenge is balancing conquest with recovery: your troops need replenishment and better recruitment, but leaving an army idle lets Fightiness deteriorate.
Cheap early infantry supports quick expansion, while Black Crag’s goldmine helps finance your opening moves. Nearby Greenskin tribes provide early targets. Pick a manageable front, protect your capital, and turn battle income into buildings that support the next offensive.
Official page: Total War: WARHAMMER (store.steampowered.com)
Choosing Your Legendary Lord and Heroes
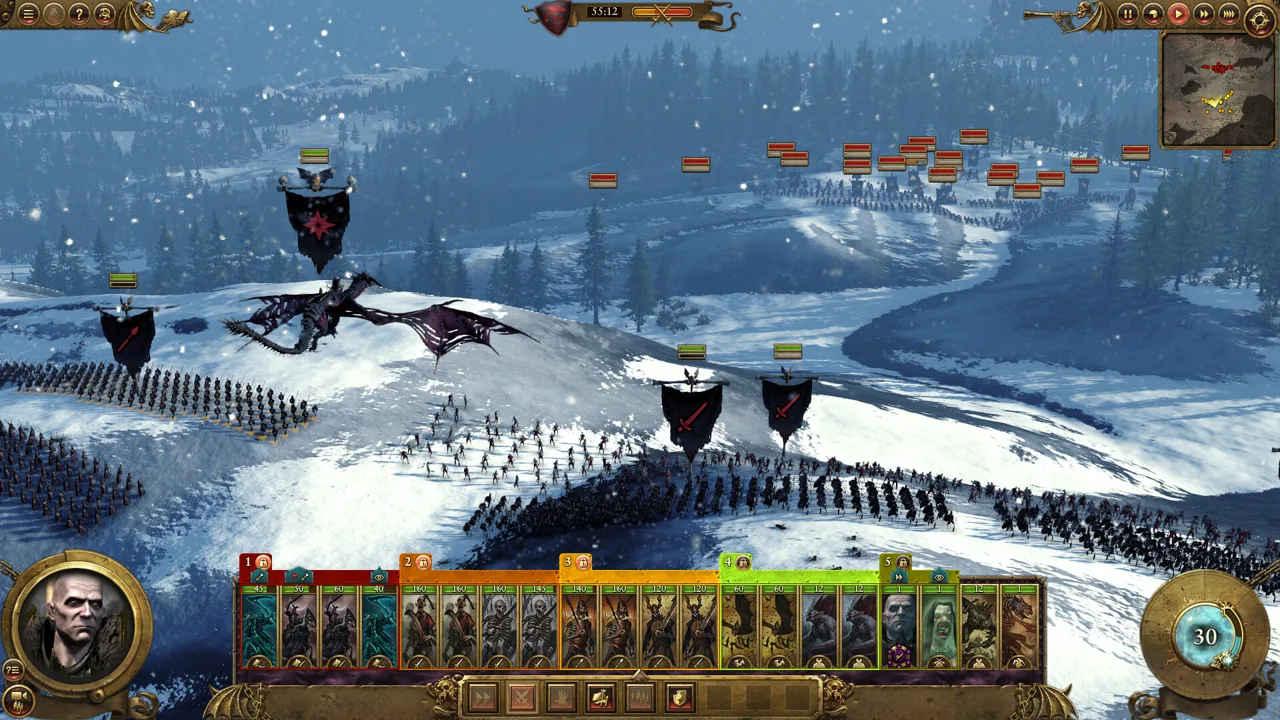 Image: Steam / CREATIVE ASSEMBLY
Grimgor Ironhide
Grimgor suits a direct melee campaign. His starting force includes Black Orcs, Boar Boyz, and a Doom Diver, giving you elite infantry, cavalry, and artillery immediately.
Develop his melee damage and survivability to make him a threat in the thick of combat. Then invest in army support or campaign skills according to what your force needs. His original faction bonuses include reduced upkeep for Big Uns and Black Orcs, supporting a gradual shift toward stronger infantry.
Keep his starting specialists alive. Use the Black Orcs against tough infantry, send the Boar Boyz after exposed missile troops, and protect the Doom Diver behind your line.
Azhag the Slaughterer
Azhag combines melee combat with spellcasting and eventually gains his wyvern, Skullmuncha. His campaign offers more battlefield tools to manage, including magic and flying attacks.
Build around those tools as they become available. Watch your Winds of Magic before committing to a spell-dependent attack, and use the wyvern to threaten exposed positions. Flying monsters remain vulnerable to concentrated missile fire and prolonged combat on the ground.
Goblin Big Bosses and Shamans
Goblin Big Bosses can disrupt enemies on the campaign map through actions such as slowing armies, assaulting troops, and damaging settlement walls. Develop their agent skills if you need help catching retreating enemies or weakening a difficult target.
Shamans bring magic to armies led by melee-focused Warbosses. Embed one when you want spell support without replacing your fighting lord.
Managing Fightiness and Waaagh! Armies
Fightiness measures whether an army is getting enough action. Winning battles, destroying settlements, and raiding raise it; inactivity and defeats lower it. At critically low levels, your troops suffer attrition from infighting.
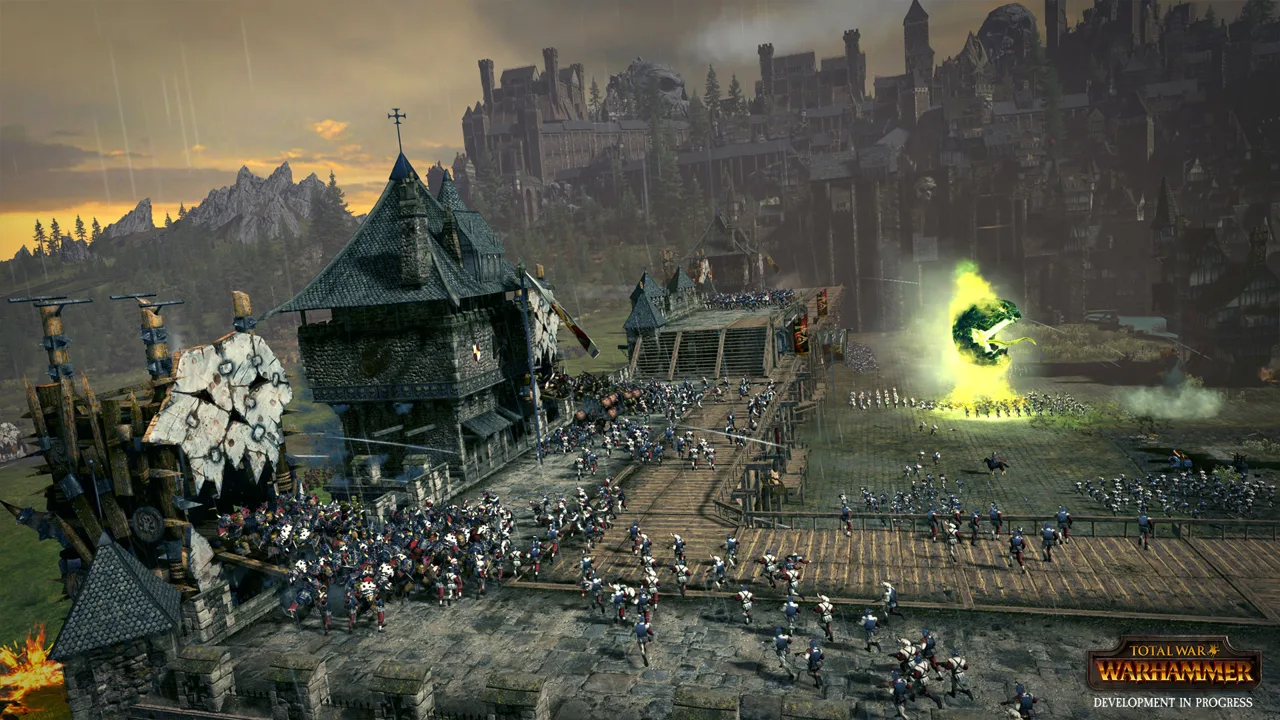 Image: Steam / CREATIVE ASSEMBLY
Inspect the Fightiness indicator near your lord’s portrait before ending the turn. Its tooltip explains the current changes, helping you spot an army that needs attention before it starts losing troops.
Triggering and Maintaining a Waaagh!
Under the original system, an army with Fightiness above 80 and at least 17 units can attract an accompanying Waaagh! army. That force is AI-controlled, costs no upkeep, and can receive enemy armies or settlements as war targets.
Keep the parent army above the required strength and Fightiness. Removing an embedded hero can push an army below the unit requirement, so check its size before sending that hero away.
Give the Waaagh! a nearby objective and advance with it. It tends to remain near its parent army, and its independent behavior can complicate sieges. If it begins besieging a settlement you want to attack yourself, redirect it to another war target.
A damaged Waaagh! replenishes surviving units but does not recruit replacements for destroyed ones. Check its remaining strength before counting on it against a major enemy force.
Raiding During Recovery
Raiding supports Fightiness while also enabling replenishment and global recruitment. Global recruitment draws from recruitment buildings across your territory, letting an army replace troops far from its military center.
Use raiding to recover between attacks when the situation allows. Check recruitment costs and completion times before committing: global recruitment takes longer and costs more than local recruitment.
Avoid leaving your accompanying Waaagh! idle beside a friendly settlement. It can raid your own province, hurting income and public order.
Building an Economy That Supports Expansion
Greenskin settlements generate less income than the economies of several other races. Raiding and sacking help cover the difference, but reliable settlement income still matters when an offensive stalls.
 Image: Steam / CREATIVE ASSEMBLY
Reserve Capital Slots for Advanced Buildings
Province capitals can reach settlement tier V; minor settlements stop at tier III. Advanced recruitment chains therefore need careful placement.
Put buildings that finish at tier III in minor settlements when space allows. Reserve capital slots for chains requiring tier IV or V, including advanced infantry recruitment and later research infrastructure.
For example, recruiting Black Orcs requires a tier IV Musta Field. Building that chain in a minor settlement leaves it unable to reach the required level.
Prioritize Income, Growth, and Research
Build around these needs:
- Piles of Shiny Things: Provide regular income and can reach their maximum tier in minor settlements.
- Resource mines: Add valuable income; certain local resource buildings also support recruitment.
- Idol buildings: Improve growth and replenishment, helping provinces develop and armies recover.
- Boss Tents: Support obedience and help resist corruption while providing access to Goblin Big Boss recruitment.
- Goblin Work Bench/Tinkerer buildings: Enable research, with a later upgrade needed to continue farther through the technology tree.
Get research infrastructure running early, then plan its upgrade alongside your capital’s development.
Use provincial commandments to match current needs. Choose growth and obedience while stabilizing a conquest, switch to recruitment benefits when raising troops, and use the tax option once the province is settled.
Build defenses where a settlement faces a real threat. Concentrate economic buildings in safer territory rather than giving every province the same layout.
Understanding the Greenskin Roster
Your infantry options perform different jobs. Stronger Orc units improve the battle line, while Goblins contribute cheap bodies, concealment, poison, and flanking opportunities.
| Unit | Main attributes | Limitation |
|---|---|---|
| Orc Boyz | Affordable early melee infantry with quick recruitment | Lose effectiveness against stronger opposition |
| Big Uns | Stronger infantry backbone than basic Orc Boyz | Higher recruitment and upkeep costs |
| Black Orcs | Heavy armor, armor-piercing damage, and strong leadership | Expensive and require advanced recruitment |
| Savage Orc infantry | High damage, speed, and physical resistance | No armor and lower melee defense |
| Night Goblins | Stalk, vanguard deployment, and poison | Low leadership and weak staying power |
| Night Goblin Archers | Poison arrows and vanguard deployment | Need protection from melee attackers |
Keep Orc Boyz while they remain affordable and useful, then replace parts of the line with Big Uns as income improves. Add Black Orcs to handle difficult infantry fights instead of immediately replacing every cheaper unit.
Use Night Goblins to approach exposed flanks or missile units. Their concealment helps them reach useful positions, but their leadership makes unsupported frontal attacks risky.
Position Savage Orcs for damaging attacks while limiting their exposure to missile fire. Their physical resistance does not remove the need to protect them from concentrated attacks.
Fanatic variants add Spinning Loons, which can also hit friendly troops. Leave clear space around their attack path, especially when attacking an enemy already engaged with your frontline.
Winning Battles Against Defensive Armies
Dwarfs present a demanding matchup because resilient infantry protects powerful ranged units. A prolonged frontal engagement gives their missiles and artillery time to work.
Use your infantry to engage the enemy line while maneuvering cavalry and concealed troops toward vulnerable targets. Send Boar Boyz after exposed archers or artillery, and use Night Goblins to threaten gaps from unexpected directions.
Support those attacks with artillery of your own. Doom Divers contribute in field battles and sieges, giving your army something useful to do before melee begins.
Keep your lord near troops with fragile leadership. Commit Black Orcs where their armor-piercing damage matters, and attack engaged enemies from the flank or rear when an opening appears.
Monsters need support, too. Giants, Trolls, and Arachnarok Spiders can disrupt formations, but anti-large weapons and concentrated shooting threaten them. Send infantry alongside them and avoid leaving a large creature surrounded.
Use poison attacks to slow enemies your melee troops are trying to catch. Concentrate support on a specific engagement rather than scattering attacks across the entire enemy army.
Using the Underway and Handling Corruption
The Underway lets Greenskin armies travel beneath mountains and other obstacles. Select an army, open its stance menu, and choose Use Underway to inspect available movement.
Compare the route with normal movement before committing. A tunnel move can reach a useful position without following the surface path, but enemy interception can force a battle underground.
A defeat in an Underway interception destroys the army. Avoid using it as an escape route beside a stronger enemy force.
Underway movement also avoids corruption attrition, though it does not replenish your army. Use it to cross dangerous territory, then find an opportunity to recover before another major battle.
For provinces you intend to hold, build obedience and corruption resistance into the local infrastructure. Boss Tents, suitable character skills, and equipped items help address those pressures. Check public order before moving your main army away from newly conquered land.
When to Occupy, Sack, or Raze
The original Old World campaign restricts Greenskin occupation to settlements of Dwarf or Greenskin culture. Check a settlement’s tooltip before planning to turn it into a recruitment base.
Occupy territory you can defend. Holding eligible settlements adds income, building slots, and forward recruitment positions. Capture intact settlements when possible rather than paying to rebuild ruins later.
Sack when you need immediate money or cannot hold the location. Spend the proceeds on recruitment, infrastructure, or recovery. Before sacking and returning to raze, check whether remaining nearby for another turn exposes your army to retaliation.
Raze when removing the settlement serves a military purpose. Destruction can deny an enemy a local replenishment base or create a ruined buffer along a frontier.
Looting and occupying trades greater instability for immediate cash. Use it where your army can stay long enough to manage the public order penalty.
Colonizing eligible ruins costs money and removes a substantial portion of your army’s troop strength. Clear nearby threats before colonizing, and leave time to replenish before advancing again.
Continue with
 Total War: WARHAMMER Vampire Counts Strategy GuideMaster Total War: WARHAMMER vampire counts with army tips, early campaign tactics, healing support, and Regiments of Renown choices for tougher battles.
More in Factions
Total War: WARHAMMER Bretonnia Guide: Lords and Units
Master Total War: WARHAMMER Bretonnia with a guide to Legendary Lords, knightly vows, Chivalry, army units, and the original campaign's item quest chains.
Total War: WARHAMMER Dwarfs: Army and Campaign Guide
Master Total War: WARHAMMER dwarfs with army roles, firing lanes, flank defense, and campaign tips to hold your ground and reclaim the ancestral holds.
Total War: WARHAMMER Empire Guide: Armies & Campaign
Master the Total War: WARHAMMER Empire with tips on army roles, artillery, cavalry, diplomacy, and campaign defense. Build a force ready to hold the line.
Total War: WARHAMMER Factions: Army and Campaign Guide
Explore Total War: WARHAMMER factions, compare their armies and campaign styles, and learn how to use diplomacy, armor, cavalry, and magic to win battles.
Join the community
Official channels for news, updates and player help: