Total War: WARHAMMER Unit Stats: Build Smarter Armies
Learn Total War: WARHAMMER unit stats, from melee attack and armor to charge bonuses. Compare damage, spot counters, and build armies for better matchups.
Jump to
How to Read a Unit Card
An expensive regiment can bleed away its value in the wrong matchup. Understanding Total War: WARHAMMER unit stats helps you choose targets, protect vulnerable troops, and recognize why a fight is going badly. This guide covers the original 2016 game, whose combat values differ from its sequels.
Start with the job you need a unit to perform. Holding a line calls for different strengths than hunting monsters, breaking armored infantry, or chasing missile troops.
Read the individual stat tooltips alongside the unit’s role labels. Weapon strength hides a damage breakdown, while bonuses against large targets or infantry can change the value of an otherwise ordinary-looking regiment.
Official page: Total War: WARHAMMER (store.steampowered.com)
Unit Size and Health: Count the Soldiers Behind the Bar
A regiment’s health bar combines the health of its individual models. Damage lands on those models, so two units with similar total health can absorb attacks very differently.
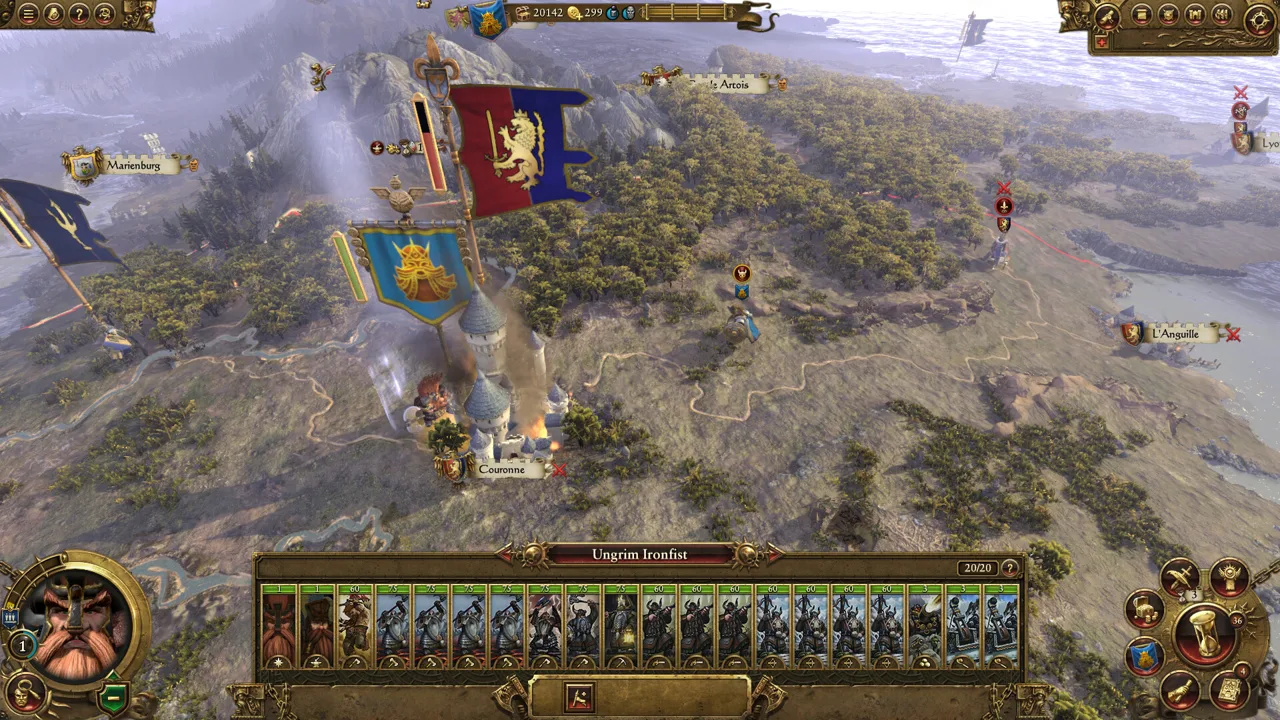 Image: Steam / CREATIVE ASSEMBLY
At the maximum unit-size setting, these examples show the distinction:
| Unit | Models | Total health | Health per model |
|---|---|---|---|
| Goblin Spearmen | 160 | 7680 | 48 |
| Chosen | 80 | 8640 | 108 |
The Chosen have only half as many models, but each model has substantially more health.
That matters because excess damage against a dying individual does not automatically become damage against the next soldier. In a simplified example, a 42-damage hit leaves a full-health Goblin with 6 health. A second identical hit only needs to remove those remaining 6 points to kill that model.
Compare model count and individual durability alongside total health. A large health pool spread across fragile troops behaves differently from one concentrated in tougher fighters.
Formation also determines how much of a regiment can contribute. A narrow, deep formation puts fewer soldiers into immediate contact. A wider frontage lets more models fight, but also exposes more of them to attacks. Keep neighboring units close enough to protect the ends of your line.
Melee Attack, Melee Defense, and Weapon Strength
These three stats answer separate questions:
- Melee attack: How likely is an attack to connect?
- Melee defense: How difficult is the defender to hit?
- Weapon strength: How much damage does a successful attack carry?
In the original game’s vanilla melee system, the basic relationship is:
Hit chance = 40% + attacker’s melee attack − defender’s melee defense
The result is bounded between 10% and 90%. Against a target with zero melee defense, 10 melee attack produces a 50% hit chance.
A high weapon-strength value therefore needs opportunities to land. A hard-hitting model that misses repeatedly cannot turn its full damage potential into casualties.
Read the Damage Breakdown
Weapon damage includes regular damage and armor-piercing damage. Armor reduces the regular portion; armor-piercing damage bypasses armor, although applicable resistances can still reduce damage.
Bonuses against infantry or large targets make the intended opponent especially important. Mounted units count as large, so anti-large tools are relevant against cavalry as well as many monsters.
Attack intervals matter, too. Melee weapon strength measures damage per successful blow rather than damage per second. A slower attacker can have a larger damage number without dealing damage faster over a prolonged fight.
Check the damage split and target bonus before assigning a melee unit. Against armored infantry, prioritize armor-piercing damage. Against cavalry or monsters, inspect the bonus versus large instead of judging by the headline weapon-strength number alone.
Armor, Shields, and Facing
Armor reduces regular damage by a percentage rather than subtracting a flat number from each hit. In the original vanilla system, 40 armor gives a reduction between 20% and 40% against the damage portion armor can affect.
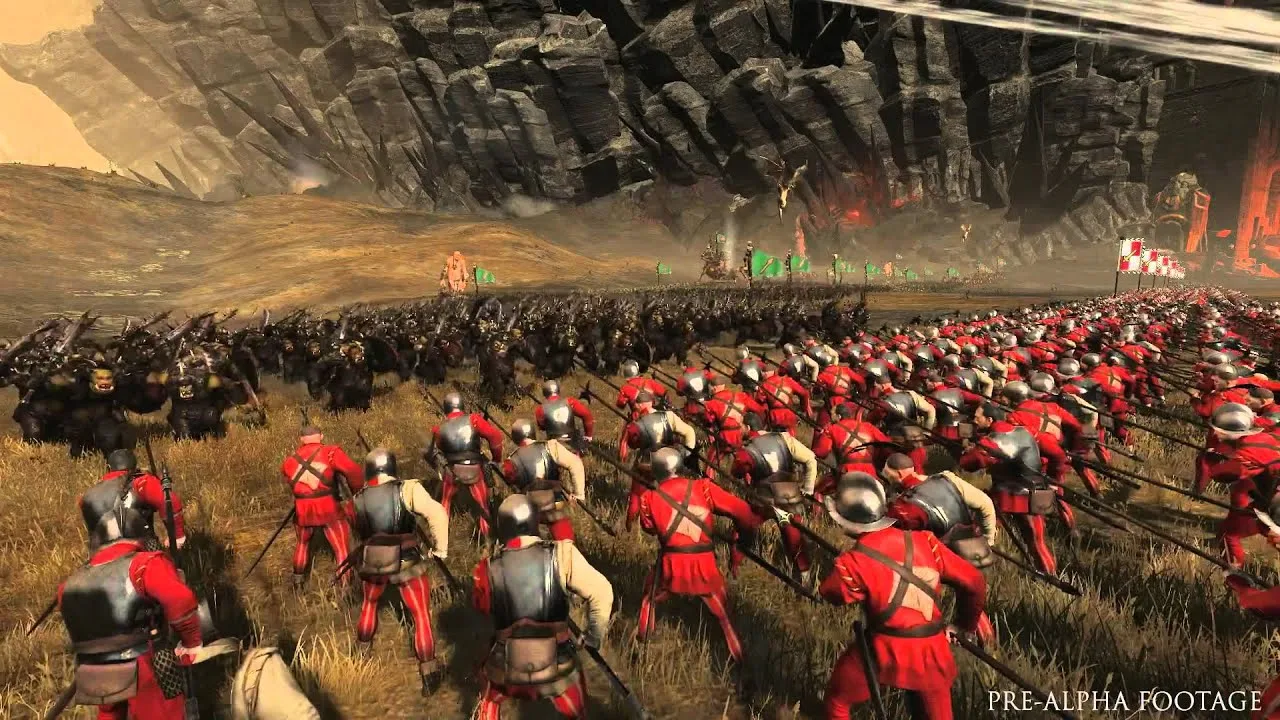
Armor-piercing damage passes through that protection. This is why an armored regiment can withstand ordinary attacks yet lose health quickly against a dedicated armor-piercing unit.
Shields provide a separate defense against eligible incoming missiles from the front. They do not offer the same protection when shots arrive from the flank or rear.
Turn shielded troops toward the shooters you want them to withstand. When using missiles yourself, move around a shielded formation where the battlefield gives you room.
Facing also affects melee defense. An individual attacked from the side or rear receives less protection from that stat than one facing its attacker. Soldiers turn during combat, so a rear charge does not leave every defender permanently facing the wrong direction.
Avoid leaving valuable units surrounded. Pulling troops out of an active melee also exposes their backs, which can combine rapid casualties with leadership pressure. Support a withdrawal with another unit rather than expecting a clean escape through enemy attacks.
Speed and Charge Bonus: Deliver the Impact
Speed helps you choose engagements, but the unit-card number does not describe every part of movement. Acceleration, running speed, charge speed, and flying movement all affect how a unit reaches its target.
Flying units also have ground movement characteristics. An airborne unit’s mobility does not guarantee an equally effective pursuit after it lands.
Give Chargers Room to Work
Charge bonus temporarily increases melee attack and damage, fading over 15 seconds. The benefit is applied to individual models completing their charge.
Leave a clear approach before issuing the attack order. A unit starting too close can enter combat without building the speed needed for its charge.
Collision adds another part of the impact. Mass and movement affect how models push into and disrupt an opposing formation. Charge bonus alone therefore does not describe everything a cavalry, monster, or chariot charge accomplishes.
Brace Before Cavalry Arrives
Charge defense against large foes can negate the charge bonus of large attackers when the defending unit is stationary and facing the incoming threat.
Position your anti-large defenders early, then let them stand ready. Turning or moving them at the last moment can leave them unable to receive the charge properly.
For your own shock troops, use a holding unit to pin the enemy while the charger approaches from another direction. Withdraw the charger when it can disengage safely, then prepare another attack. Leaving it trapped in a prolonged melee wastes the opportunity to deliver another charge.
Ammunition, Range, and Missile Damage
Missile troops need more than an impressive damage number. They need enough ammunition, a suitable target, and time to shoot.
- Ammunition represents shots available to each firing model. A value of 22 means 22 shots per individual.
- Range gives the weapon’s maximum firing distance.
- Missile damage expresses damage over a 10-second interval, incorporating rate of fire.
That last point makes missile damage different from melee weapon strength. One includes firing rate in its displayed value; the other describes a successful melee blow.
Actual ranged performance still depends on the engagement. Shields, armor, firing angles, and whether the unit gets caught in melee all affect the result.
Against armored Dwarf troops, the Empire’s Handgunners offer armor-piercing fire. Crossbowmen do not fill that same armor-piercing role. Inspect the missile damage breakdown before choosing your ranged support.
Protect firing lanes as carefully as the shooters themselves. A powerful ranged unit contributes little while enemy cavalry forces it to flee or warhounds keep it occupied in melee.
When your frontline is holding, move available shooters toward the enemy’s flank. This creates opportunities to fire into exposed sides and backs while reducing the obstruction caused by your own troops.
Leadership and Fatigue: Why Strong Units Break
Leadership determines a unit’s ability to keep fighting and responding to orders. Its battlefield value changes with casualties, nearby threats, support, and the course of the fight.
Rapid losses are especially dangerous. A regiment suffering heavy damage in a short burst faces different pressure from one losing health gradually.
For units subject to the original game’s standard morale effects, these penalties illustrate why positioning matters:
| Situation | Leadership penalty |
|---|---|
| Attacked in the flank | −6 |
| Attacked in the rear | −14 |
| Under missile fire | −5 |
| Under artillery fire | −8 |
| Tired | −2 |
| Very tired | −4 |
| Exhausted | −8 |
A rear charge can create several problems together: unfavorable facing, sudden damage, and a leadership penalty. Coordinate the charge with your frontline’s engagement instead of sending a flanker into an isolated fight.
Watch Fatigue Before Committing Reserves
Fatigue progresses through Fresh, Active, Winded, Tired, Very tired, and Exhausted. Fresh and Active units have no fatigue penalties.
Later stages reduce combat effectiveness. Exhaustion affects offensive performance and also weakens armor and melee defense. Troops climbing ladders reach the wall exhausted, making an immediate fight against waiting defenders especially costly.
Rest reserves before sending them into a decisive engagement. Avoid exhausting cavalry with unnecessary movement before asking it to chase a target or deliver a charge.
Keep the army’s leader out of avoidable danger, too. A general’s death adds leadership pressure across the army at exactly the moment nearby fights may already be deteriorating.
Choose Units for the Enemy You Expect
Recruitment decisions become clearer when you compare a unit’s relevant strengths with the actual opposing army.
Demigryph Knights: Match the Variant to the Target
Demigryph Knights with Halberds carry a bonus versus large, making them suited to fighting enemy cavalry and monsters. The standard variant serves the anti-infantry role.
Choose the halberd variant when your plan requires hunting large threats. Against a Dwarf infantry force, favor the anti-infantry variant rather than paying attention to an anti-large bonus that has no suitable ground target.
During battle, avoid letting enemy spearmen dictate where your expensive cavalry fights. Move toward targets that activate your own strengths, and disengage before pursuing anti-large infantry catches you.
Swordsmen and Greatswords: Compare the Damage You Need
Greatswords bring stronger armor and armor-piercing damage, but their higher price does not mean every visible stat rises proportionally.
Use Swordsmen for cheaper coverage when you need more bodies in the line. Choose Greatswords when the enemy’s armor gives their damage profile a clear purpose.
For Greenskins, inspect Orc Big ’Uns when facing a cavalry-heavy opponent. Their bonus versus large provides a reason to select them beyond the headline damage comparison with other Orc infantry.
Give Each Part of the Army a Specific Job
Build around tasks your troops can carry out together:
- Hold enemy melee units with a defensive line.
- Keep anti-large reserves near routes enemy cavalry or monsters can exploit.
- Send fast units around the line to interrupt vulnerable shooters.
- Concentrate armor-piercing troops against armored targets.
- Use available chargers to exploit exposed flanks and rear positions.
Judge performance by that assigned job. A unit tying down dangerous missile troops can protect the rest of your army even without winning a clean duel. An expensive monster chasing the wrong target can leave your frontline unsupported while its strongest stats contribute elsewhere.
Continue with
 Total War: WARHAMMER Giants: How to Use and Beat ThemUse Total War: WARHAMMER giants to pressure enemy lines. Learn how to support them in melee and counter them with spears, halberds, cannons, and missiles.
Continue exploring
Total War: WARHAMMER Bretonnia Guide: Lords and Units
Master Total War: WARHAMMER Bretonnia with a guide to Legendary Lords, knightly vows, Chivalry, army units, and the original campaign's item quest chains.
Total War: WARHAMMER Dwarfs: Army and Campaign Guide
Master Total War: WARHAMMER dwarfs with army roles, firing lanes, flank defense, and campaign tips to hold your ground and reclaim the ancestral holds.
Join the community
Official channels for news, updates and player help: