Total War: WARHAMMER Guide: Win Your First Campaign
Use this Total War: WARHAMMER guide to manage provinces, build balanced armies, master unit matchups, and protect your campaign from costly early mistakes.
Jump to
How to Start Your First Campaign
Winning a battle means little if the next turn leaves your settlements defenseless. This Total War: WARHAMMER guide connects campaign decisions with battlefield tactics so your victories support an empire you can hold. Start with a manageable frontier, recruit units for specific jobs, and learn how to force favorable fights.
These tips focus on the original game's Old World campaign. Its turn-based layer handles construction, recruitment, diplomacy, and expansion; real-time battles determine what happens when armies meet.
For your opening campaign:
- Select Campaigns, then New Campaign.
- Choose your race and a Legendary Lord.
- Select the lord labeled Faction Leader and enable the introduction to learn the controls.
- Set the difficulty to Easy while you learn how campaign management and battles interact.
Choose a race whose battlefield style interests you:
- The Empire: Combine infantry, missile troops, cavalry, artillery, and spellcasters.
- Dwarfs: Build around armored infantry, ranged weapons, and artillery. Dwarfs use runes instead of Winds of Magic spellcasting.
- Vampire Counts: Support melee troops and monsters with magic, using flying units to pressure enemy ranged positions.
- Greenskins: Pay attention to differences within the roster, including the anti-large capabilities of Orc Big ’Uns.
- Bretonnia: Learn to maneuver cavalry and choose charges carefully. Bretonnia joins the original four races through free additional content.
Check your faction's objectives panel early. Victory conditions differ by race, so use those requirements to guide your expansion rather than attacking every available neighbor.
Official page: Total War: WARHAMMER (store.steampowered.com)
Secure Your First Province Before Expanding
Your starting enemy deserves immediate attention. After winning the opening battle, check whether your army has enough movement to attack the survivors again. Leaving a damaged force nearby gives it an opportunity to regroup or reach a settlement.
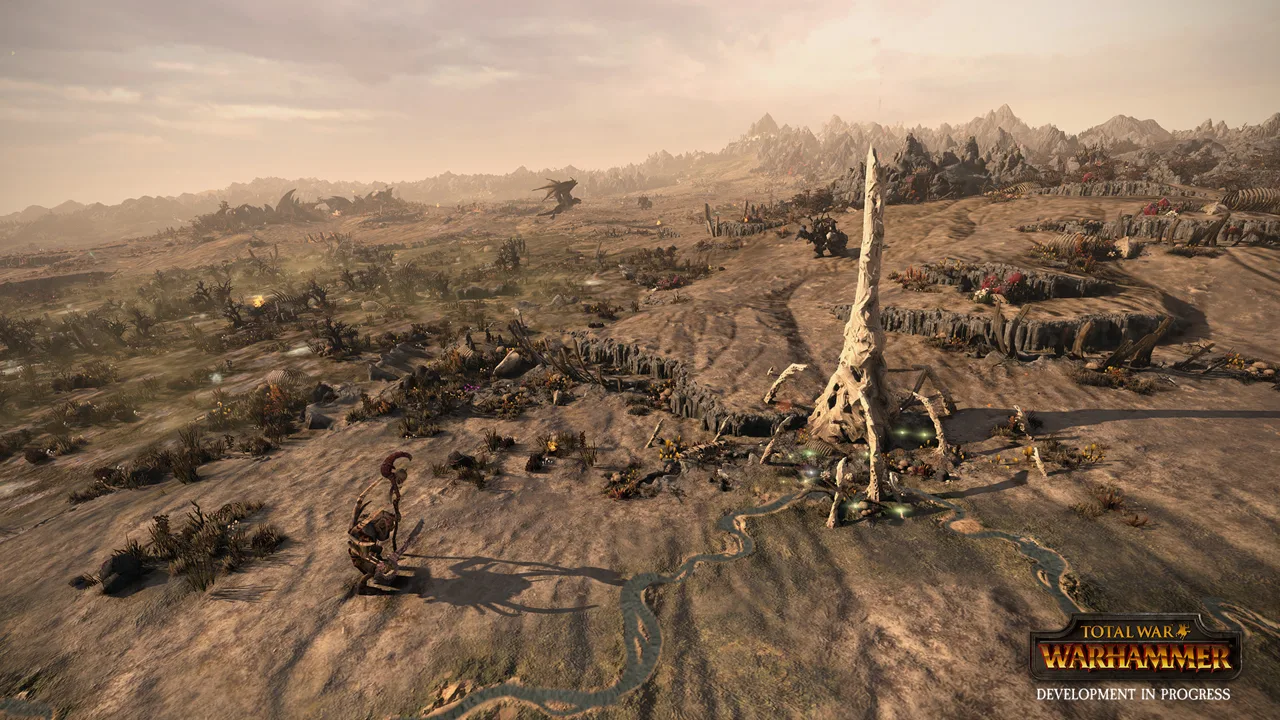 Image: Steam / CREATIVE ASSEMBLY
If another attack would leave your army exposed, pull back into friendly territory and recover. Keep an eye on nearby enemy forces before committing to a pursuit.
Treat territorial missions as long-term goals. Early income generally supports one strong army more comfortably than several capable forces. Opening another front can leave you choosing between defending your settlements and finishing your original war.
Prioritize settlements within a province you already partly control. Owning the entire province unlocks commandments, including options that support public order or growth.
After a conquest:
- Inspect public order and the effects of recent occupation.
- Use public order buildings, an army's presence, or relevant character bonuses to control unrest.
- Choose a public order commandment while the province settles.
- Switch commandments when your priorities change.
Sacking provides cash without committing you to holding the settlement. Use it when you need funds or cannot defend another acquisition, but weigh that income against the value of completing a province.
The original game also restricts which settlements different races can occupy. Check the available conquest options before planning an expansion route.
Put Buildings Where They Can Finish Their Upgrade Chains
Province capitals can reach tier five, while minor settlements stop at tier three. A building cannot advance beyond its settlement's tier.
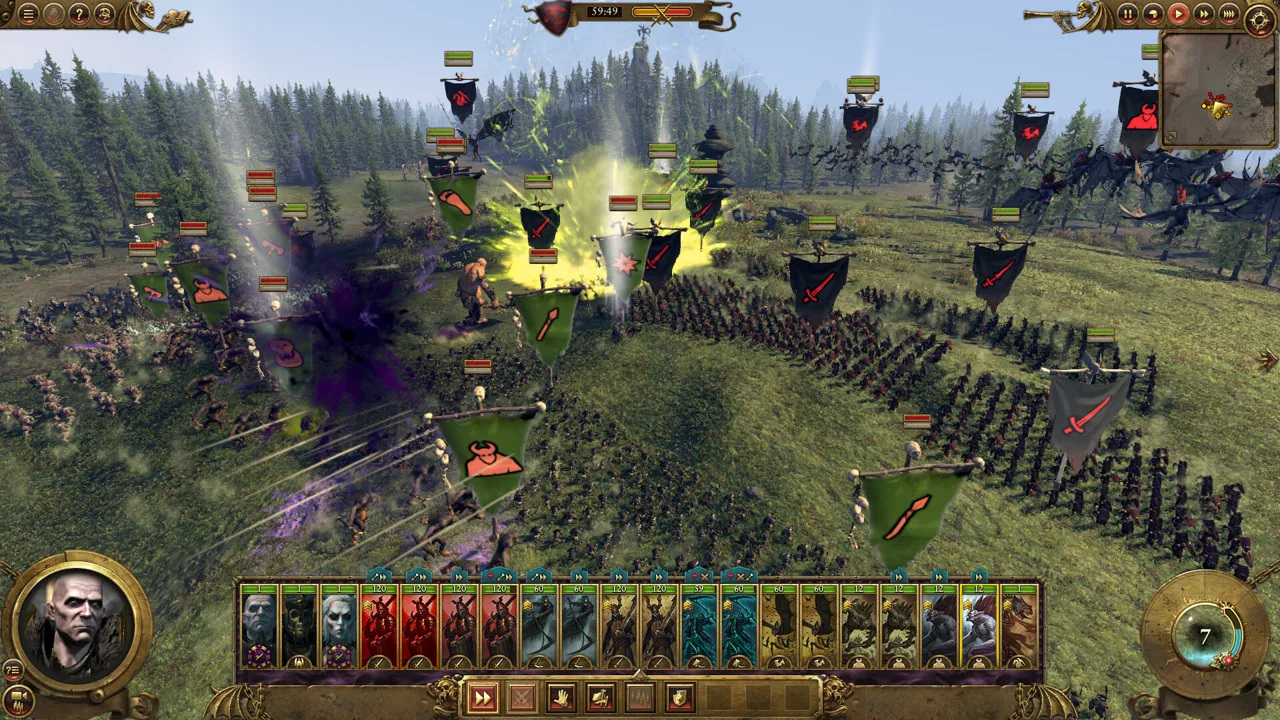 Image: Steam / CREATIVE ASSEMBLY
Before constructing a recruitment building, inspect its full upgrade chain. Reserve capital slots for chains that need higher settlement tiers to unlock the units you want. Use minor settlements for buildings whose useful upgrades fit within their limits.
Captured territory often needs reorganizing. Inspect existing buildings before spending more money: duplicated recruitment infrastructure can occupy space you need for income or public order.
Public order buildings deserve particular attention:
- Empire: Tap Room
- Greenskins: Boss Tent
- Dwarfs: Refectory
- Vampire Counts: Gibbet
Build them where their public order contribution solves a provincial problem, even if that settlement cannot support every later upgrade.
Keep recruitment and construction spending connected. Before ordering an expensive upgrade, check whether you will still have enough money to maintain the army defending it.
Build Armies Around Matchups and Cost
Recruit for the enemy you expect to fight. Expensive units have specialized strengths, and those strengths need suitable targets.
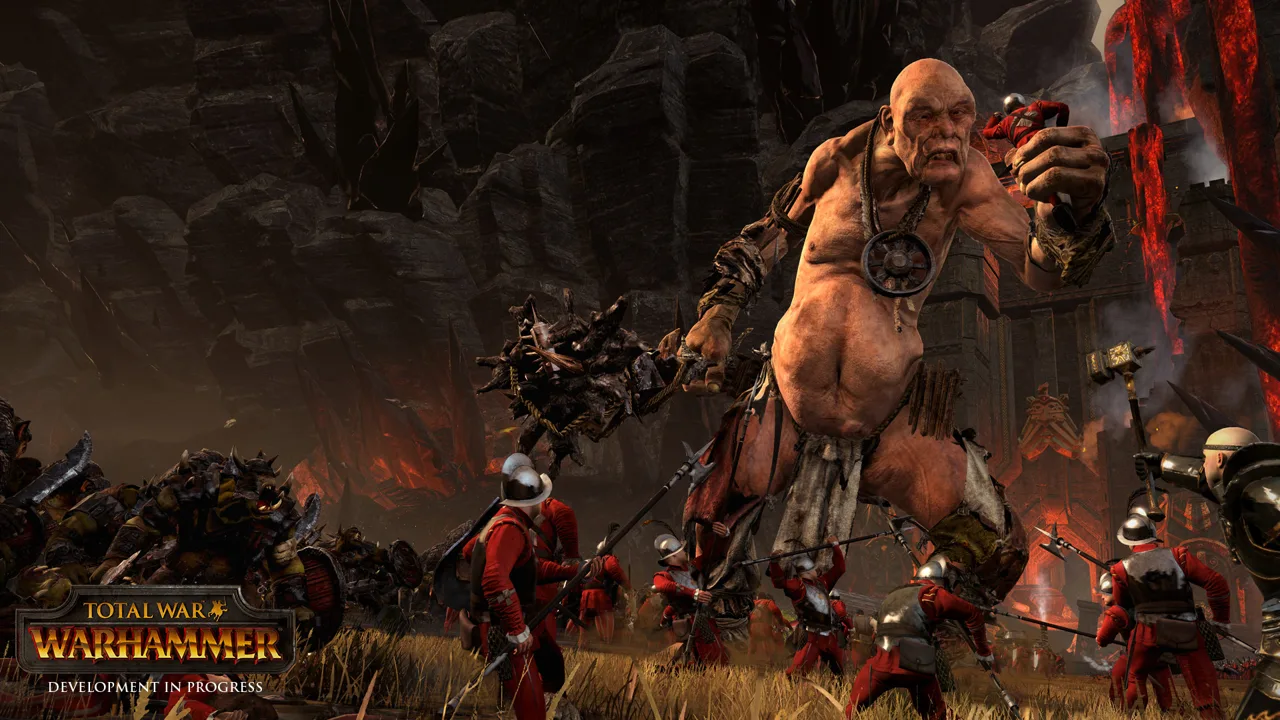 Image: Steam / CREATIVE ASSEMBLY
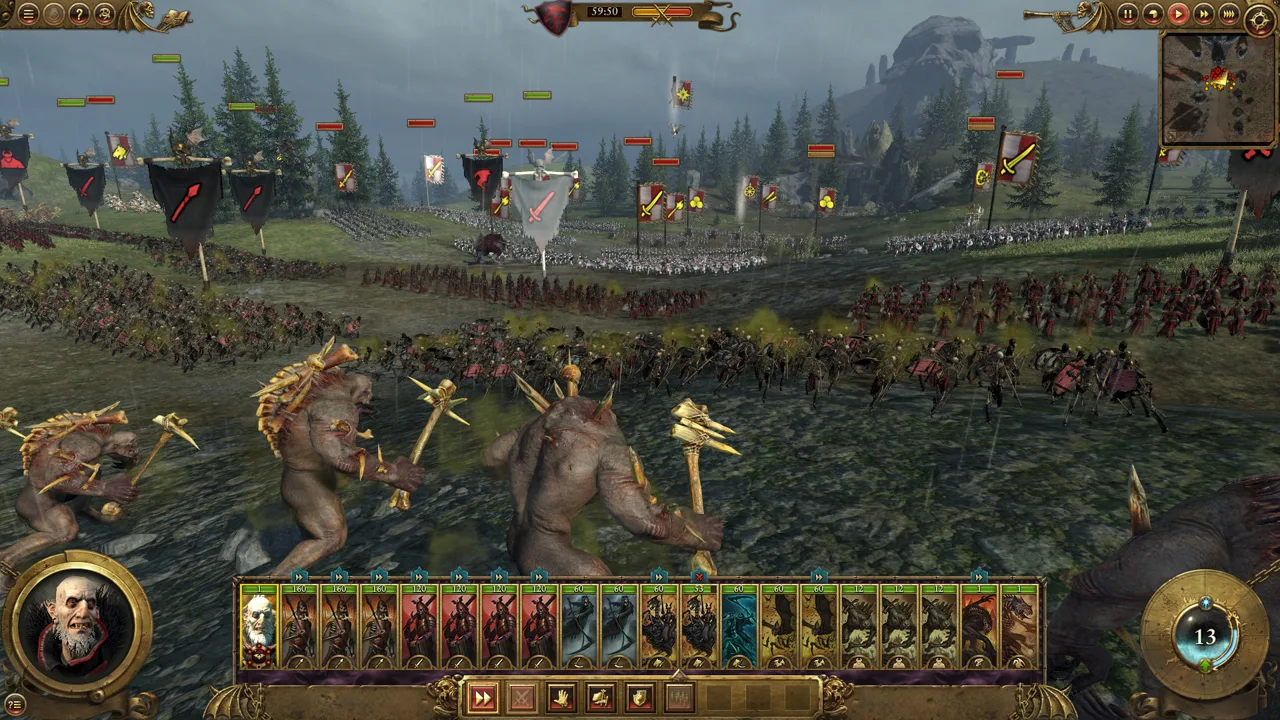
Against heavily armored Dwarfs, prioritize armor-piercing damage. Against an army with dangerous cavalry or monsters, include units with a bonus versus large. Check the actual enemy force rather than assuming every army from a race has the same composition.
Read beyond the short role labels on unit cards:
| Attribute | What it tells you | How to use it |
|---|---|---|
| Melee attack | A unit's ability to land melee hits | Compare it when assessing sustained melee fights |
| Melee defense | A unit's ability to avoid melee hits | Consider it when choosing troops to hold a position |
| Weapon strength | The damage of successful melee attacks | Inspect its damage components and relevant bonuses |
| Armor-piercing damage | Damage suited to armored opponents | Assign these units to heavily armored targets |
| Bonus versus large | An advantage against large targets | Match it against cavalry and monsters |
| Charge bonus | A boost associated with charging into combat | Create opportunities for effective charges |
The Empire's Demigryph Knights illustrate why variants matter. The halberd variant brings anti-large capability for fighting monsters and cavalry; the other variant suits infantry targets. Recruit the version that answers a problem in your next battle.
Apply the same reasoning to ordinary infantry. Greatswords offer armor-piercing damage, but cheaper Swordsmen can provide more bodies for the money. Spend on the specialist when you need its capabilities.
Give each unit a job before recruiting it. Identify what will hold the line, protect your missiles, threaten enemy ranged troops, and answer large targets. Then fill gaps instead of buying another expensive unit with an overlapping role.
Deploy to Protect Your Damage Dealers
Start with infantry positioned to intercept attacks on your ranged troops. Put cavalry on the flanks, where it has room to maneuver around the main engagement.
Keep a reserve near your artillery when enemy flyers threaten the rear. Even cheap flying units can interrupt artillery by forcing its crews into melee.
Place your lord where nearby troops can benefit from the leadership bonus. Commit a melee lord with support, and keep spellcasters positioned to use their abilities without exposing them unnecessarily.
Once fighting begins, work through these priorities:
- Keep missiles operating. Stop cavalry, monsters, and flyers from tying them down.
- Match anti-large units with large threats. Reposition them toward cavalry and monsters.
- Create flank attacks. Use mobile troops to reach enemies already occupied by your infantry.
- Reassign units after a fight ends. Send freed troops toward a contested engagement instead of leaving them idle.
For troops with charge defense against large foes, stop and face the incoming attack before impact. Issuing an attack order at the last moment can prevent them from bracing in time.
Avoid treating unit roles as guaranteed outcomes. Spears can threaten cavalry, but unit quality, damage already taken, leadership, and supporting troops still affect the fight.
Use P to pause and T to cycle battle speed with the default controls when those options are available. Slow down while learning to monitor the front line and your mobile units together.
Use Magic, Monsters, and Flyers With Support
Spellcasting depends on the Winds of Magic. The available power and its recharge affect how often your casters can use spells, while provincial Winds conditions influence the magic available for a battle.
Spend that power on a clear purpose:
- Damage an enemy concentration.
- Weaken a dangerous opposing unit.
- Support troops holding an important position.
- Pressure enemies whose leadership is already faltering.
Read each spell's effects before casting. Vortex spells can affect everything caught in their path, so consider where your own troops will be when the spell takes effect.
Dwarfs operate differently: they have innate resistance to magic and use runes to enhance their forces.
Keep Monsters Out of Unfavorable Fights
Monsters can disrupt infantry formations and hold enemies while other troops maneuver. They can also be worn down when trapped in prolonged melee.
Support them with nearby troops and watch for anti-large weapons, cannons, and concentrated missile fire. Redirect a monster when its current target is exposing it to the enemy's counters.
Plan an Exit for Flying Attackers
Use flying creatures to threaten flanks, attack vulnerable ranged units, and pressure wavering enemies. Before sending one in, identify where it can withdraw.
Large flying creatures can become trapped after landing in melee. Pull them away from unfavorable engagements and avoid hovering under sustained missile fire.
Dwarf Gyrocopters cannot land. Keep them working as airborne weapons platforms while watching the range and position of enemy missile units.
Develop Lords and Heroes for Their Actual Jobs
Lords gain experience through battles and receive skill points for upgrades. Legendary Lords also have narrative quest chains that lead to battles and powerful magical items.
Choose skills with your army's needs in mind. Read what an upgrade affects before spending the point, then build toward abilities you will use.
Heroes divide their time between two roles:
- Campaign agents: Perform actions against enemy characters, armies, or settlements, and provide relevant provincial benefits.
- Embedded battlefield characters: Join armies to contribute combat strength, spells, and abilities.
Develop each hero around the role you assign. An army that needs magical support has a different requirement from a province that needs an agent's passive benefits.
Prepare equipment before an important confrontation. Reassigning items and followers can take a turn, so inspect character loadouts in advance. Assign available banners to suitable units on the pre-battle screen.
Dwarfs and Greenskins should also inspect Use Underway when planning army movement. It allows travel beneath terrain obstacles, but interception can force a battle underground. Check nearby threats before using it to reposition.
Approach Sieges With a Clear Assault Plan
Attacking armies begin the original game's siege battles within range of defensive towers. Choose an entry point and move with purpose rather than leaving troops exposed while you decide.
Coordinate the approach:
- Identify the gate or wall section you intend to attack.
- Move a battering ram or suitable large monster toward the gate.
- Send infantry toward walls they can scale with ladders.
- Use missile fire to support the assault.
- Watch for flying defenders that can reach vulnerable troops behind your attack.
Avoid relying entirely on ranged fire while the rest of the army waits under tower fire. Give each part of the assault a destination before advancing.
When defending, focus artillery on a leading siege tower to try to destroy it before it reaches the wall. Move ranged troops away from threatened wall sections as attackers arrive, and bring infantry forward to meet them.
Keep watching the air during the wall fight. Enemy flyers can bypass the approach your defenses are covering; direct available ranged fire or your own flying units toward them before they disrupt the troops supporting your defense.
Continue with
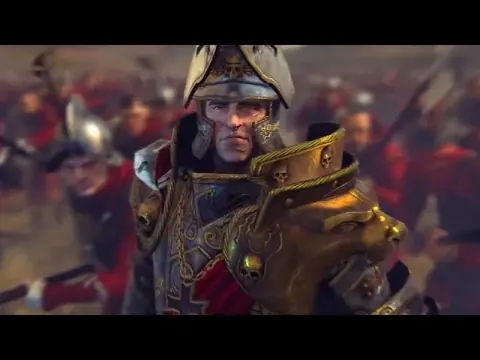 Total War: WARHAMMER Which Is Best? A Faction GuideCompare factions, army matchups, and campaign styles to choose your next Old World army. Build your campaign around the strengths you want to use.
Continue exploring
Total War: WARHAMMER Player Count: Steam Stats Guide
Explore the Total War: WARHAMMER player count, its 24-hour and all-time Steam peaks, and what those numbers mean for campaigns, co-op, and online battles.
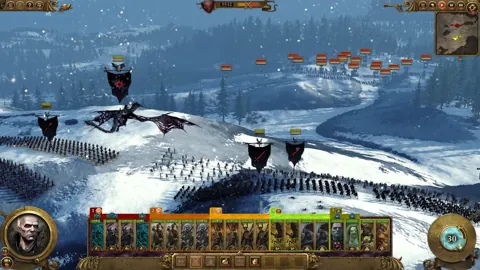
Total War: WARHAMMER Dwarfs: Army and Campaign Guide
Master Total War: WARHAMMER dwarfs with army roles, firing lanes, flank defense, and campaign tips to hold your ground and reclaim the ancestral holds.
Join the community
Official channels for news, updates and player help: